I’ve been _extremely_ impressed with the quality of Engenius‘ products, most specifically the EOC-2610. For the 2 years that I’ve had my two units in service, I’ve had very little issue with them.
Recently my workplace ordered a batch of Ubiquiti products from DoubleRadius. Ubiquiti is loved by the WISP world, and (mostly) utilize Atheros boards – just as the Engenius products do. Both also have stock firmware that’s also based off OpenWRT. Being inspired, I purchased some equipment myself.
Part of the reason the Ubiquiti gear seems to be more popular is their excellent support and web forum. Engenius is notoriously difficult to get any answers out of. I’ve still yet to get a copy of their firmware source required by the GPL, and I gave up long ago trying to get anywhere. Luckily, the few questions I did have were answered by simply expirementing.
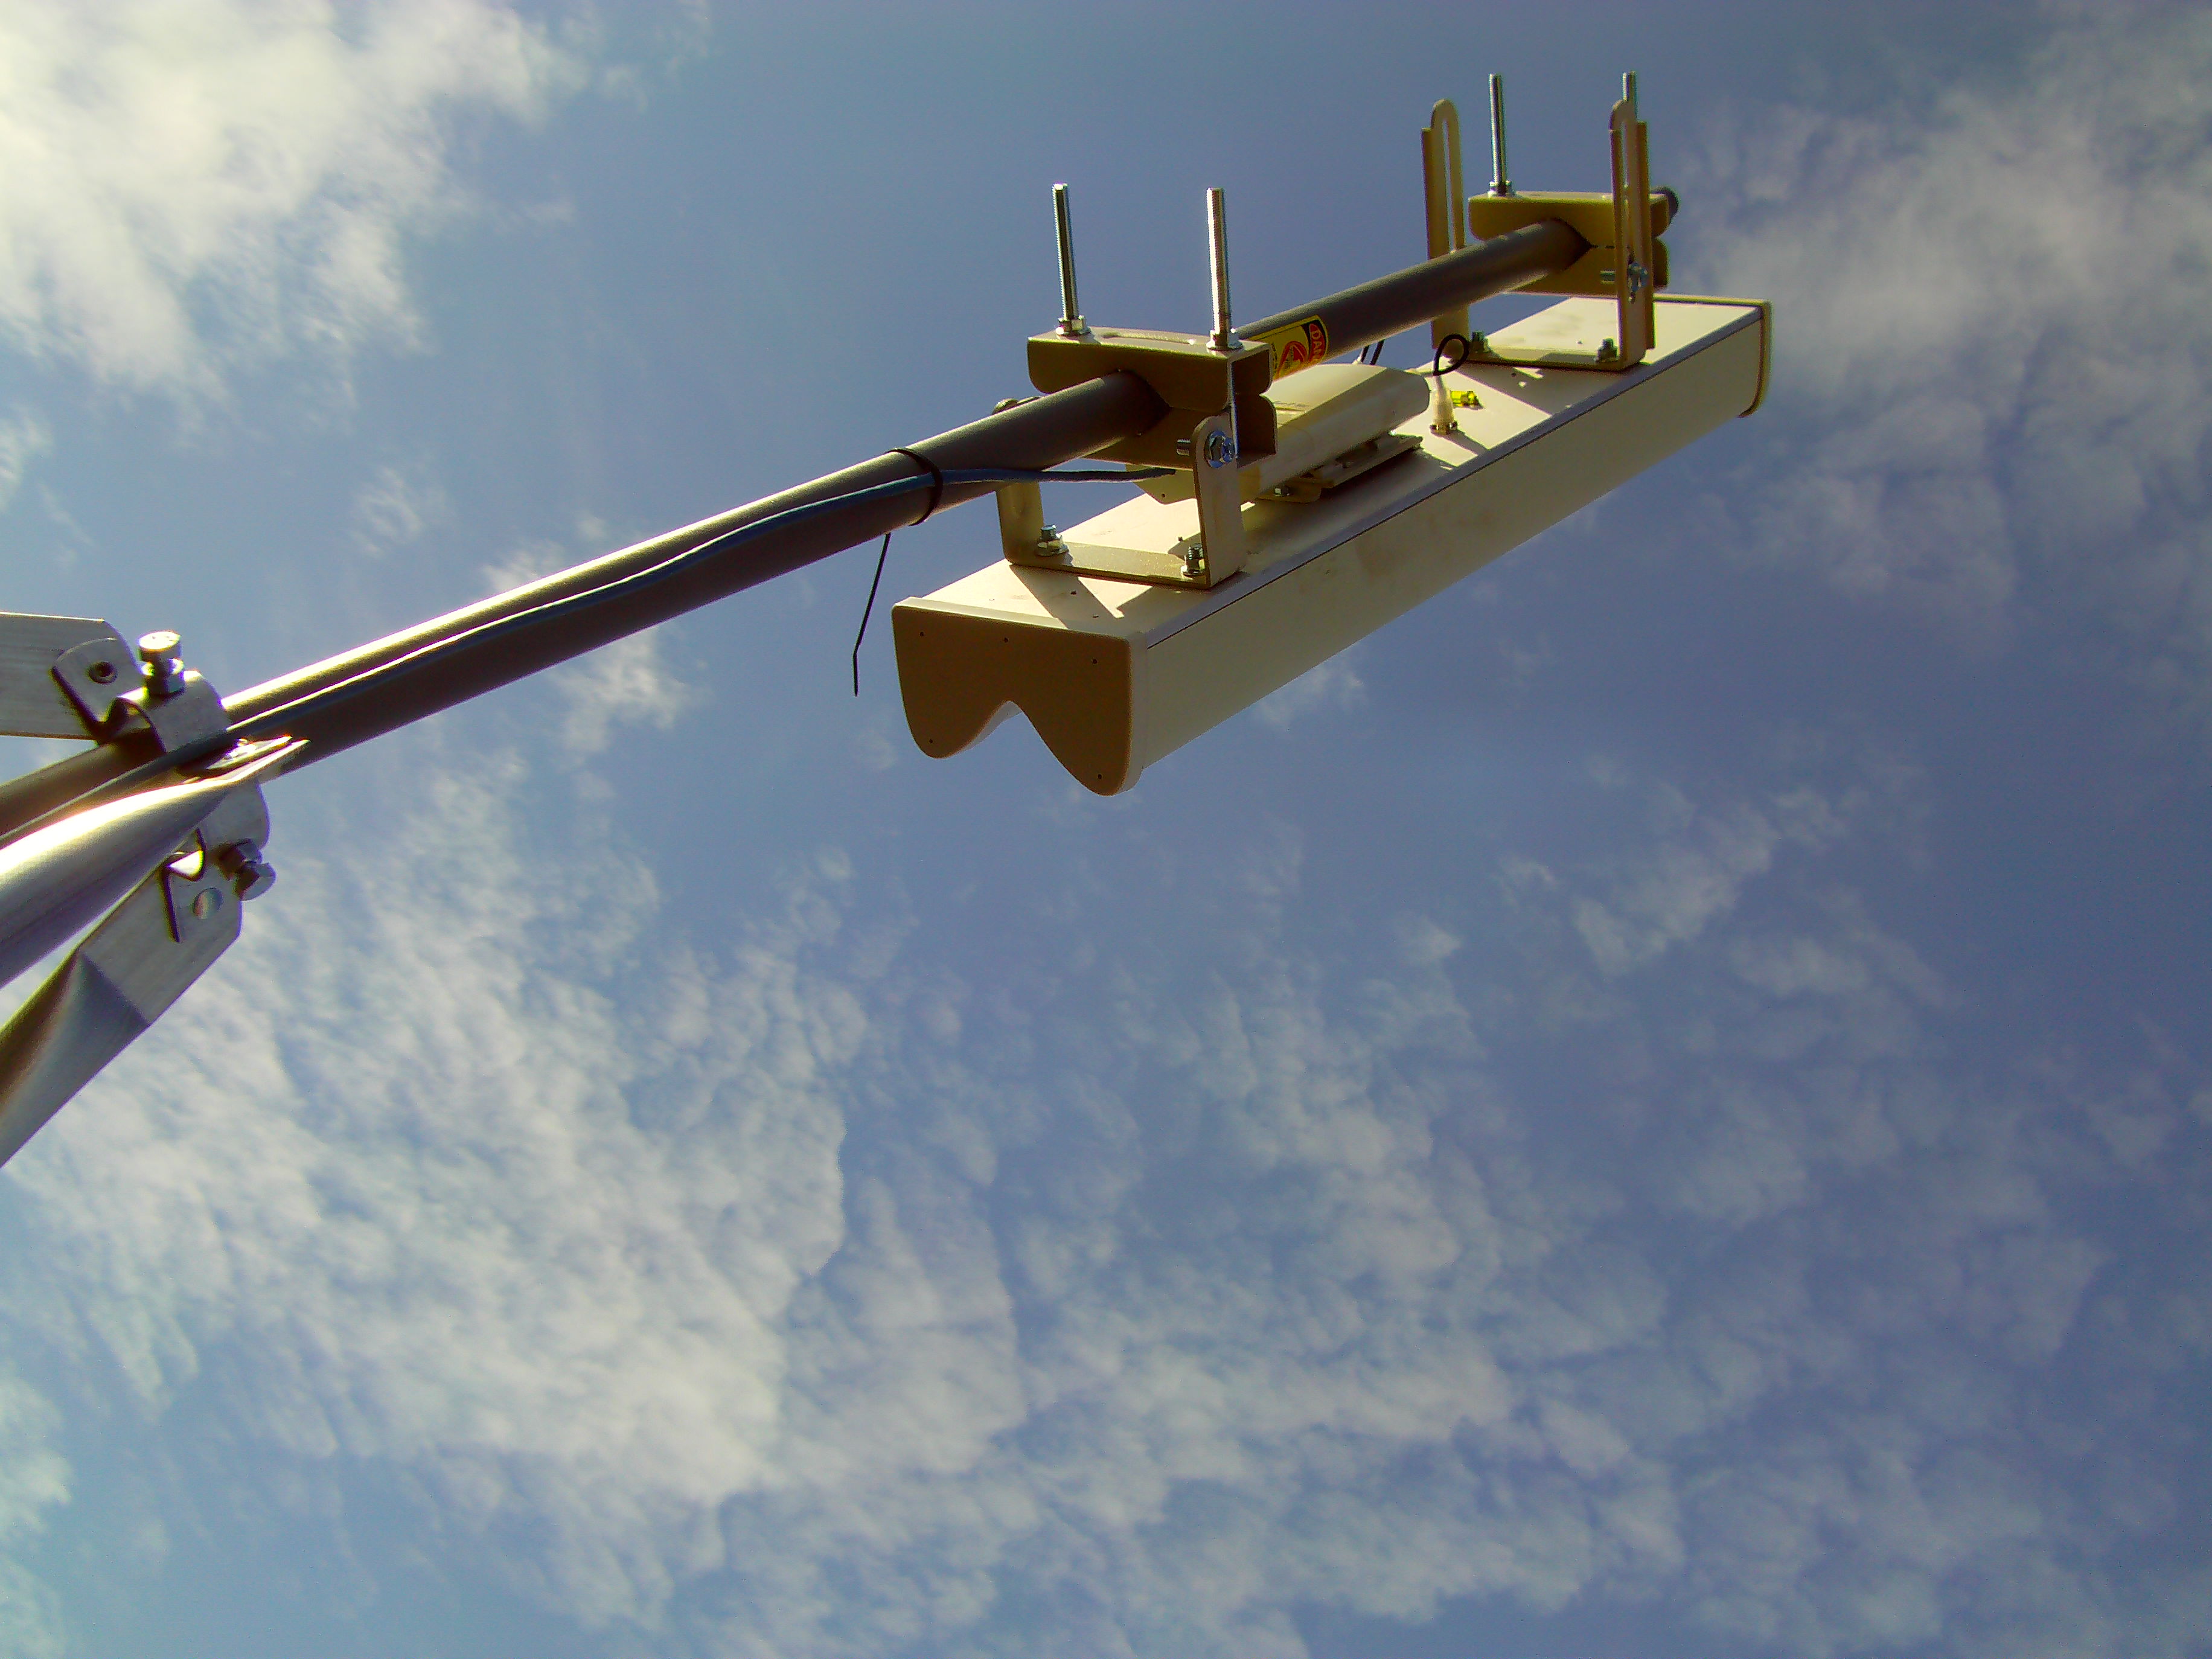
This weekend I began the migration to Ubiquiti. My first rollout involves a Rocket M2 and a 120 degree sector antenna. For the past few weeks I’ve been working on adding a more recent version of the excellent CoovaChilli to the device. I have located a version of the CoovaAP firmware that runs natively on a Rocket M2, however it lacked a number of features (non-Chilli related) that I was hoping for. After much searching, I’ve been able to locate a 5.3 SDK (which features AirControl and the built-in spectrum analyzer).
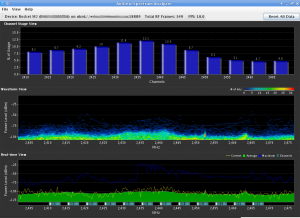
As I mentioned, it took quite a bit of searching to obtain the SDK. According to Kevin Perry at Ubiquiti “We’ve had to temporarily remove the SDKs from our site to comply with US export control regulations. Once approved, we will be able to continue providing SDKs. ” I’ve not heard anything new, and that correspondence is from September of 2011.
Of course, the Internet is a not only a compendium of 140-word-or-less Tweets about what someone just ate for dinner, it’s also a giant archive of the past. And with a bit of searching, I came across the SDK still hosted (albeit hidden) on Ubiquiti’s site.
Unfortunately the latest SDK is 5.5, and not 5.3. I’ve not had luck locating it (and it does contain the patch for the SkyNet worm), so I’m working off 5.3 for the time being. I’ve locked down access to the web interface to prevent infection from the worm.

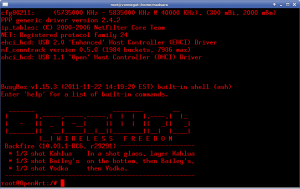
With the SDK in tow, I began the work of inserting CoovaChilli into the system. Ubiquiti ensures important services stay running by having them spawned (and respawned if needed) via inittab. The stock inittab on the system is basic, handling only login and a couple of runlevel items. Prior to /sbin/init starting, the system runs a bash script /init. This in turn handles filesystem mounts, makes a handful of device nodes, copies a number of files into place, partially configures sysinit, and sets the timezone. It also calls ubntconf which gleans information from the nvram variables, prior to executing the traditional /sbin/init.
ubntconf is a closed source application, although it’s pretty easy to glean most of it’s operations by simply running strings on it (It is an ELF not a script). Depending upon nvram variables that are set, different scripts are dropped into /etc/sysinit. Additionally, items are added to /etc/inittab like this:
null::respawn:/bin/pppd eth0
null::respawn:/bin/lighttpd -D -f /etc/lighttpd.conf
null::respawn:/bin/dropbear -F -d /etc/persistent/dropbear_dss_host_key -r /etc/
persistent/dropbear_rsa_host_key -p 22
Each of these entries will respawn the corresponding service should it crash. Using their system as a model, I created my own config creator “chilliconf” to add entries to inittab for the chilli daemon, in addition to the necessary iptables rules in /etc/sysinit, and a few modifications to their use of dnsmasq (I wanted to syslog DNS queries offsite). When I later added NProbe to my firmware, I also used my chilliconf configurator to add it to the inittab.
My chilliconf configurator, like ubntconf, is called from the /init script.
One thing of note – any daemon listed in the inittab file needs to actually run in the foreground (so calling the process a daemon isn’t entirely accurate). This is for the obvious reason that the initiating process fork()s then exits – so inittab will continually respawn the service until you run out of resources.
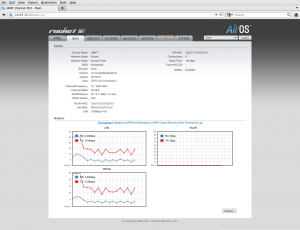
I used the 3.6SDK version of CoovaAP as a model for my web interface. Adding a tab was fairly easy – the web interface is maintained as the ubnt-web package in the SDK. Most of the web CGI is PHP/FI (with a couple of functions added to PHP to facilitate saving configs and reading values). The code is extremely readable, and easy to figure out.
When you save your settings in the Ubiquiti web interface, you’re presented with a blue message bar asking if you’d like to test or apply your settings. In either case, you’ll be disconnected for a moment while the system reconfigures itself. This appears to be done via a call to the original /init script. The blue bar is a bit of a problem when adding a new tab to the menu.
The background image for the blue bar (msg.png) is originally 745 pixels, and the screen width is set to 790 pixels. With an added tab, the screen width becomes 866 pixels. Using GIMP I resized this image to 821 pixels.

- Originally it was 745, with the original screen width of 790.
- 790-745 = 45.
- 866-45 = 821 — our newly resized image.
The web interface went through a few iterations before I had all the options I presently needed. CoovaChilli’s dnsdomainlocal option is problematic – causing any DNS query that returns an NXDOMAIN error for an A record to cause a redirect to the portal. Unfortunately the portal (from my experience) doesn’t properly track in this instance if the MAC associated with the request is authenticated – and redirects the user back to the UAMSERVER with the “res=notyet” variable. This means the user is prompted with a login screen unnecessarily.
In other words, visit “adfasjzc9vdsa0f9jdsaf.com”, and you’re presented with a login screen even after you’re logged in. Adding the option to disable dnsdomainlocal fixes this problem.
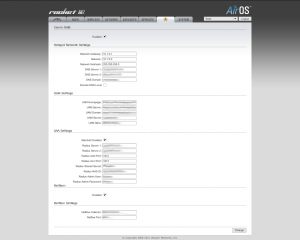
By default, I have the “dhcpradius” option enabled. With this feature, when a DHCP request is received by the CoovaChilli server, it forwards the MAC address to the radius server (as both the username and password) for authentication. If it doesn’t authenticate, the system redirects the user back to the UAMServer for a captive portal login.
For the time being, the system is a bit overkill, but the options it presents for the future are many. CoovaChilli can rate-limit individual users based on login or MAC address. This alone opens the door for a pay-for-bandwidth model. If a user is found to be filesharing (legal or not) or otherwise consuming an inordinate amount of bandwidth, they can be easily ratelimited.
I still have a few minor items to add to the firmware (including the ability to pull RSSI information per client), but in the meantime it’s been fun working with the Rocket M2. The access point is now being tested in the neighborhood.

