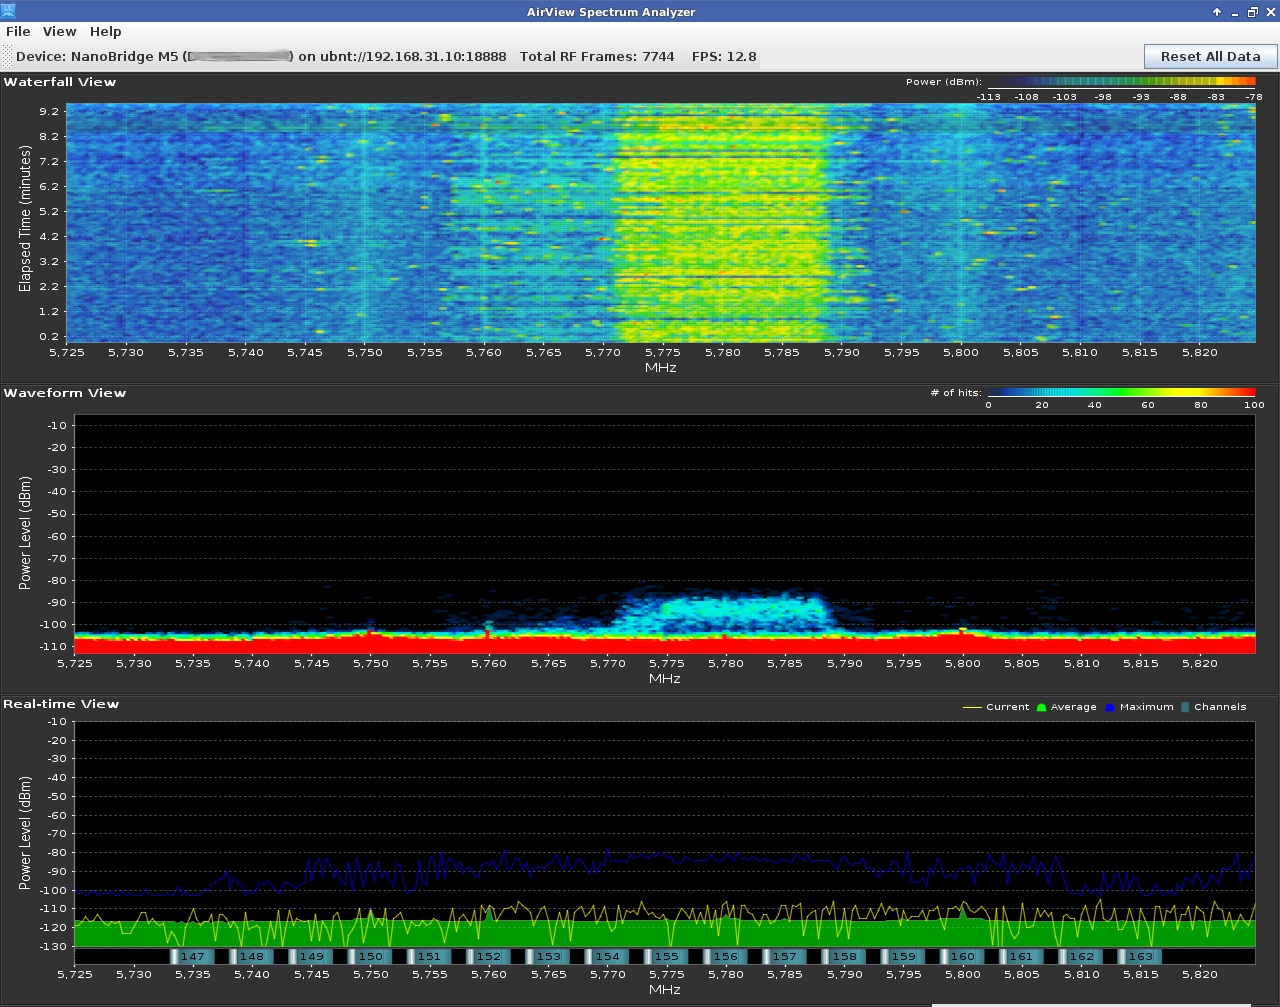
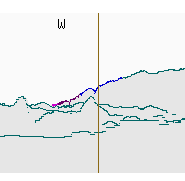
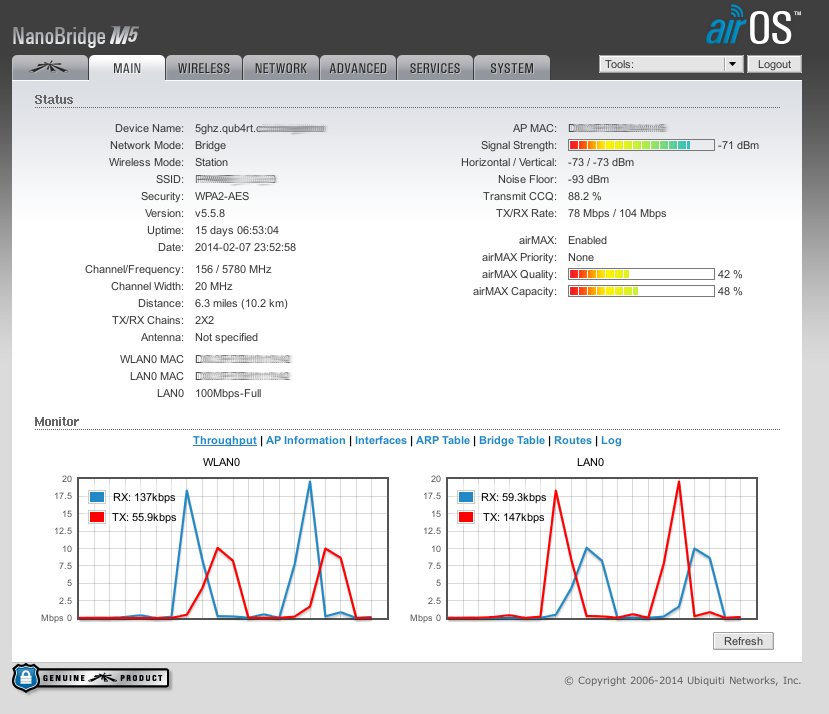
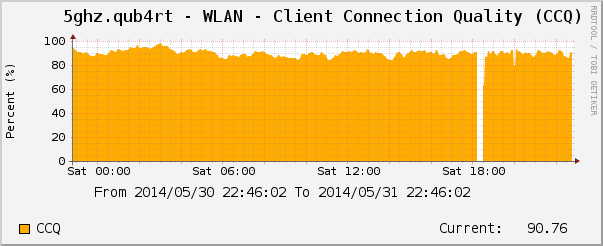
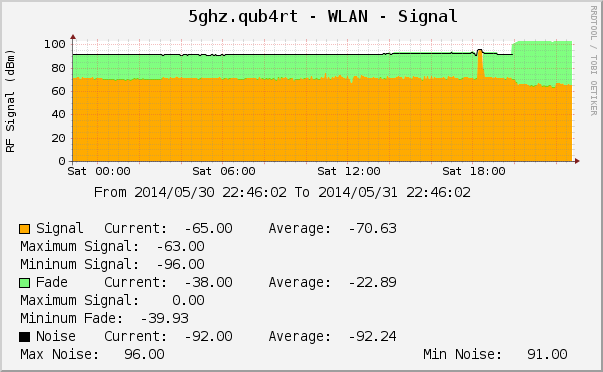
A couple of months ago, I started to notice a few issues when watching YouTube videos at my home. It seemed that the videos were taking longer to buffer, and a quick check of my Ubiquiti NanoBridge M5 (NMB5-25) revealed my signal had deteriorated from it’s usual -64dBm signal to around -75dBm. The Airmax Quality had also significantly tanked, now reading around 40%. An Airview scan didn’t seem to indicate any new interference:
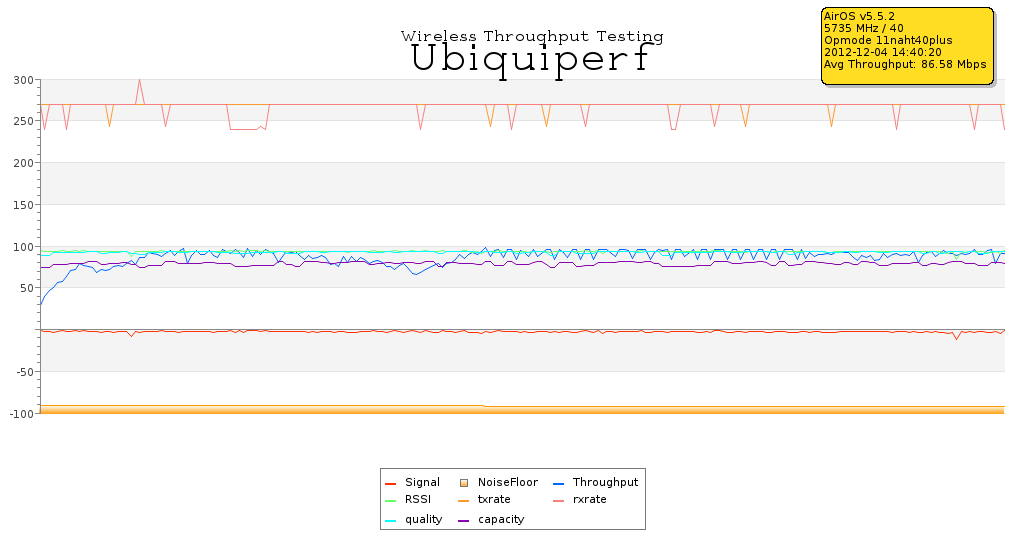
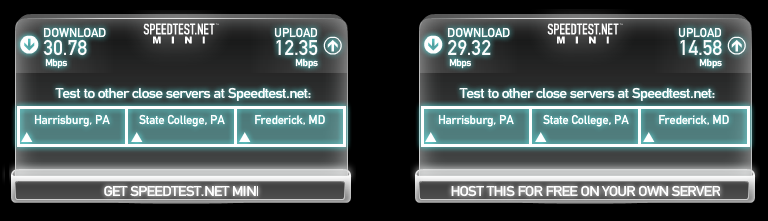
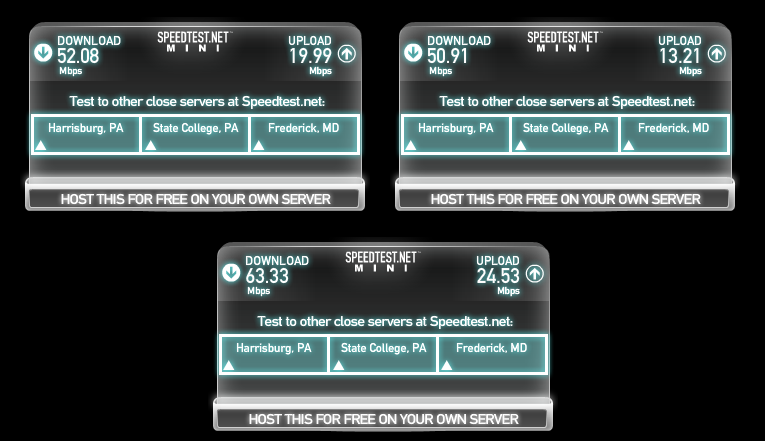
Throughput tests to two on-network Speedtest.net Mini sites still showed decent rates, but it became obvious that TCP retransmissions were starting to significantly impact surfing the web. Unfortunately, I didn’t think to grab a tcpdump to support that theory.
I had been holding off installing the new NanoBeam M5 (NBE-M5-400) since I wanted to ensure they were stable. While I’ve not been burned by the problems with ToughCable or chain burnout problems on the Rocket Titanium M5’s, I’ve heard my fair share of grumbling from people that have. On the Ubiquiti forum people have mostly raved about the new units so I figured I’d see how well it performs.
On the roof of my home, I have a non-penetrating mount atop two anti-fatigue mats purchased from the Home Depot. The mats aren’t UV rated, something I didn’t consider until later. After a yearlong installation, the mats are in surprisingly good shape. I don’t anticipate having to replace them in the next two years based on their current wear.
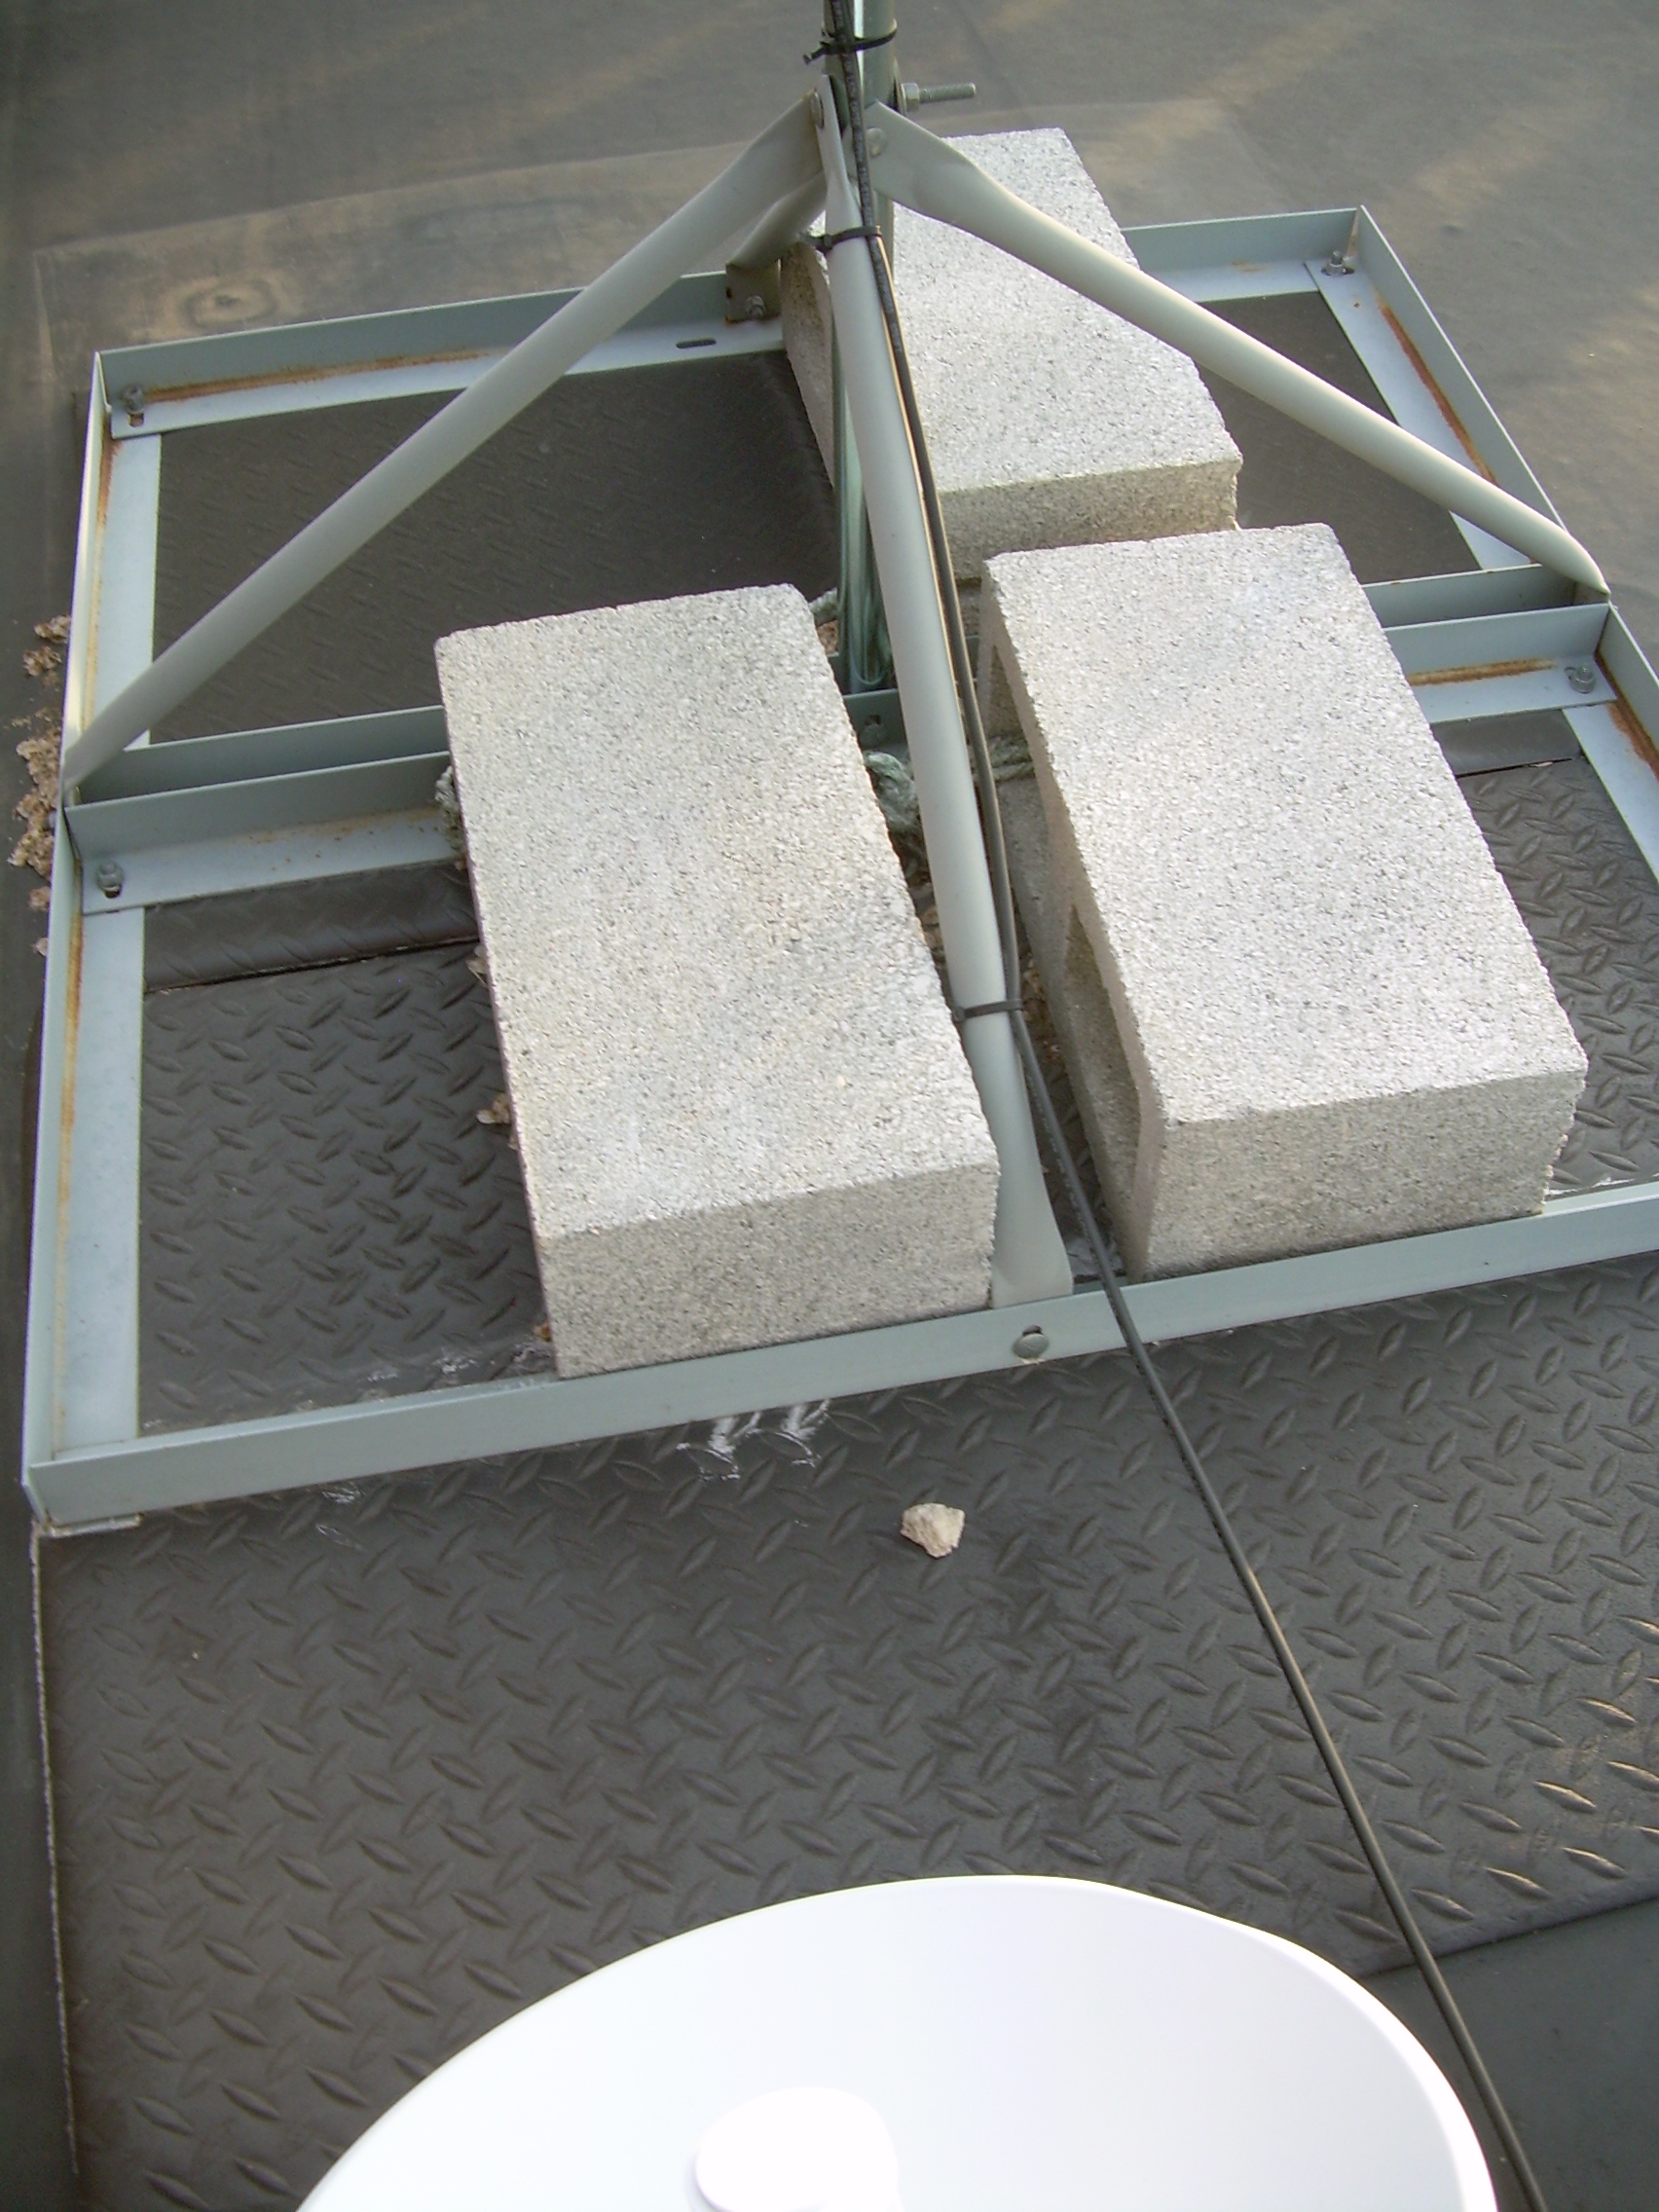
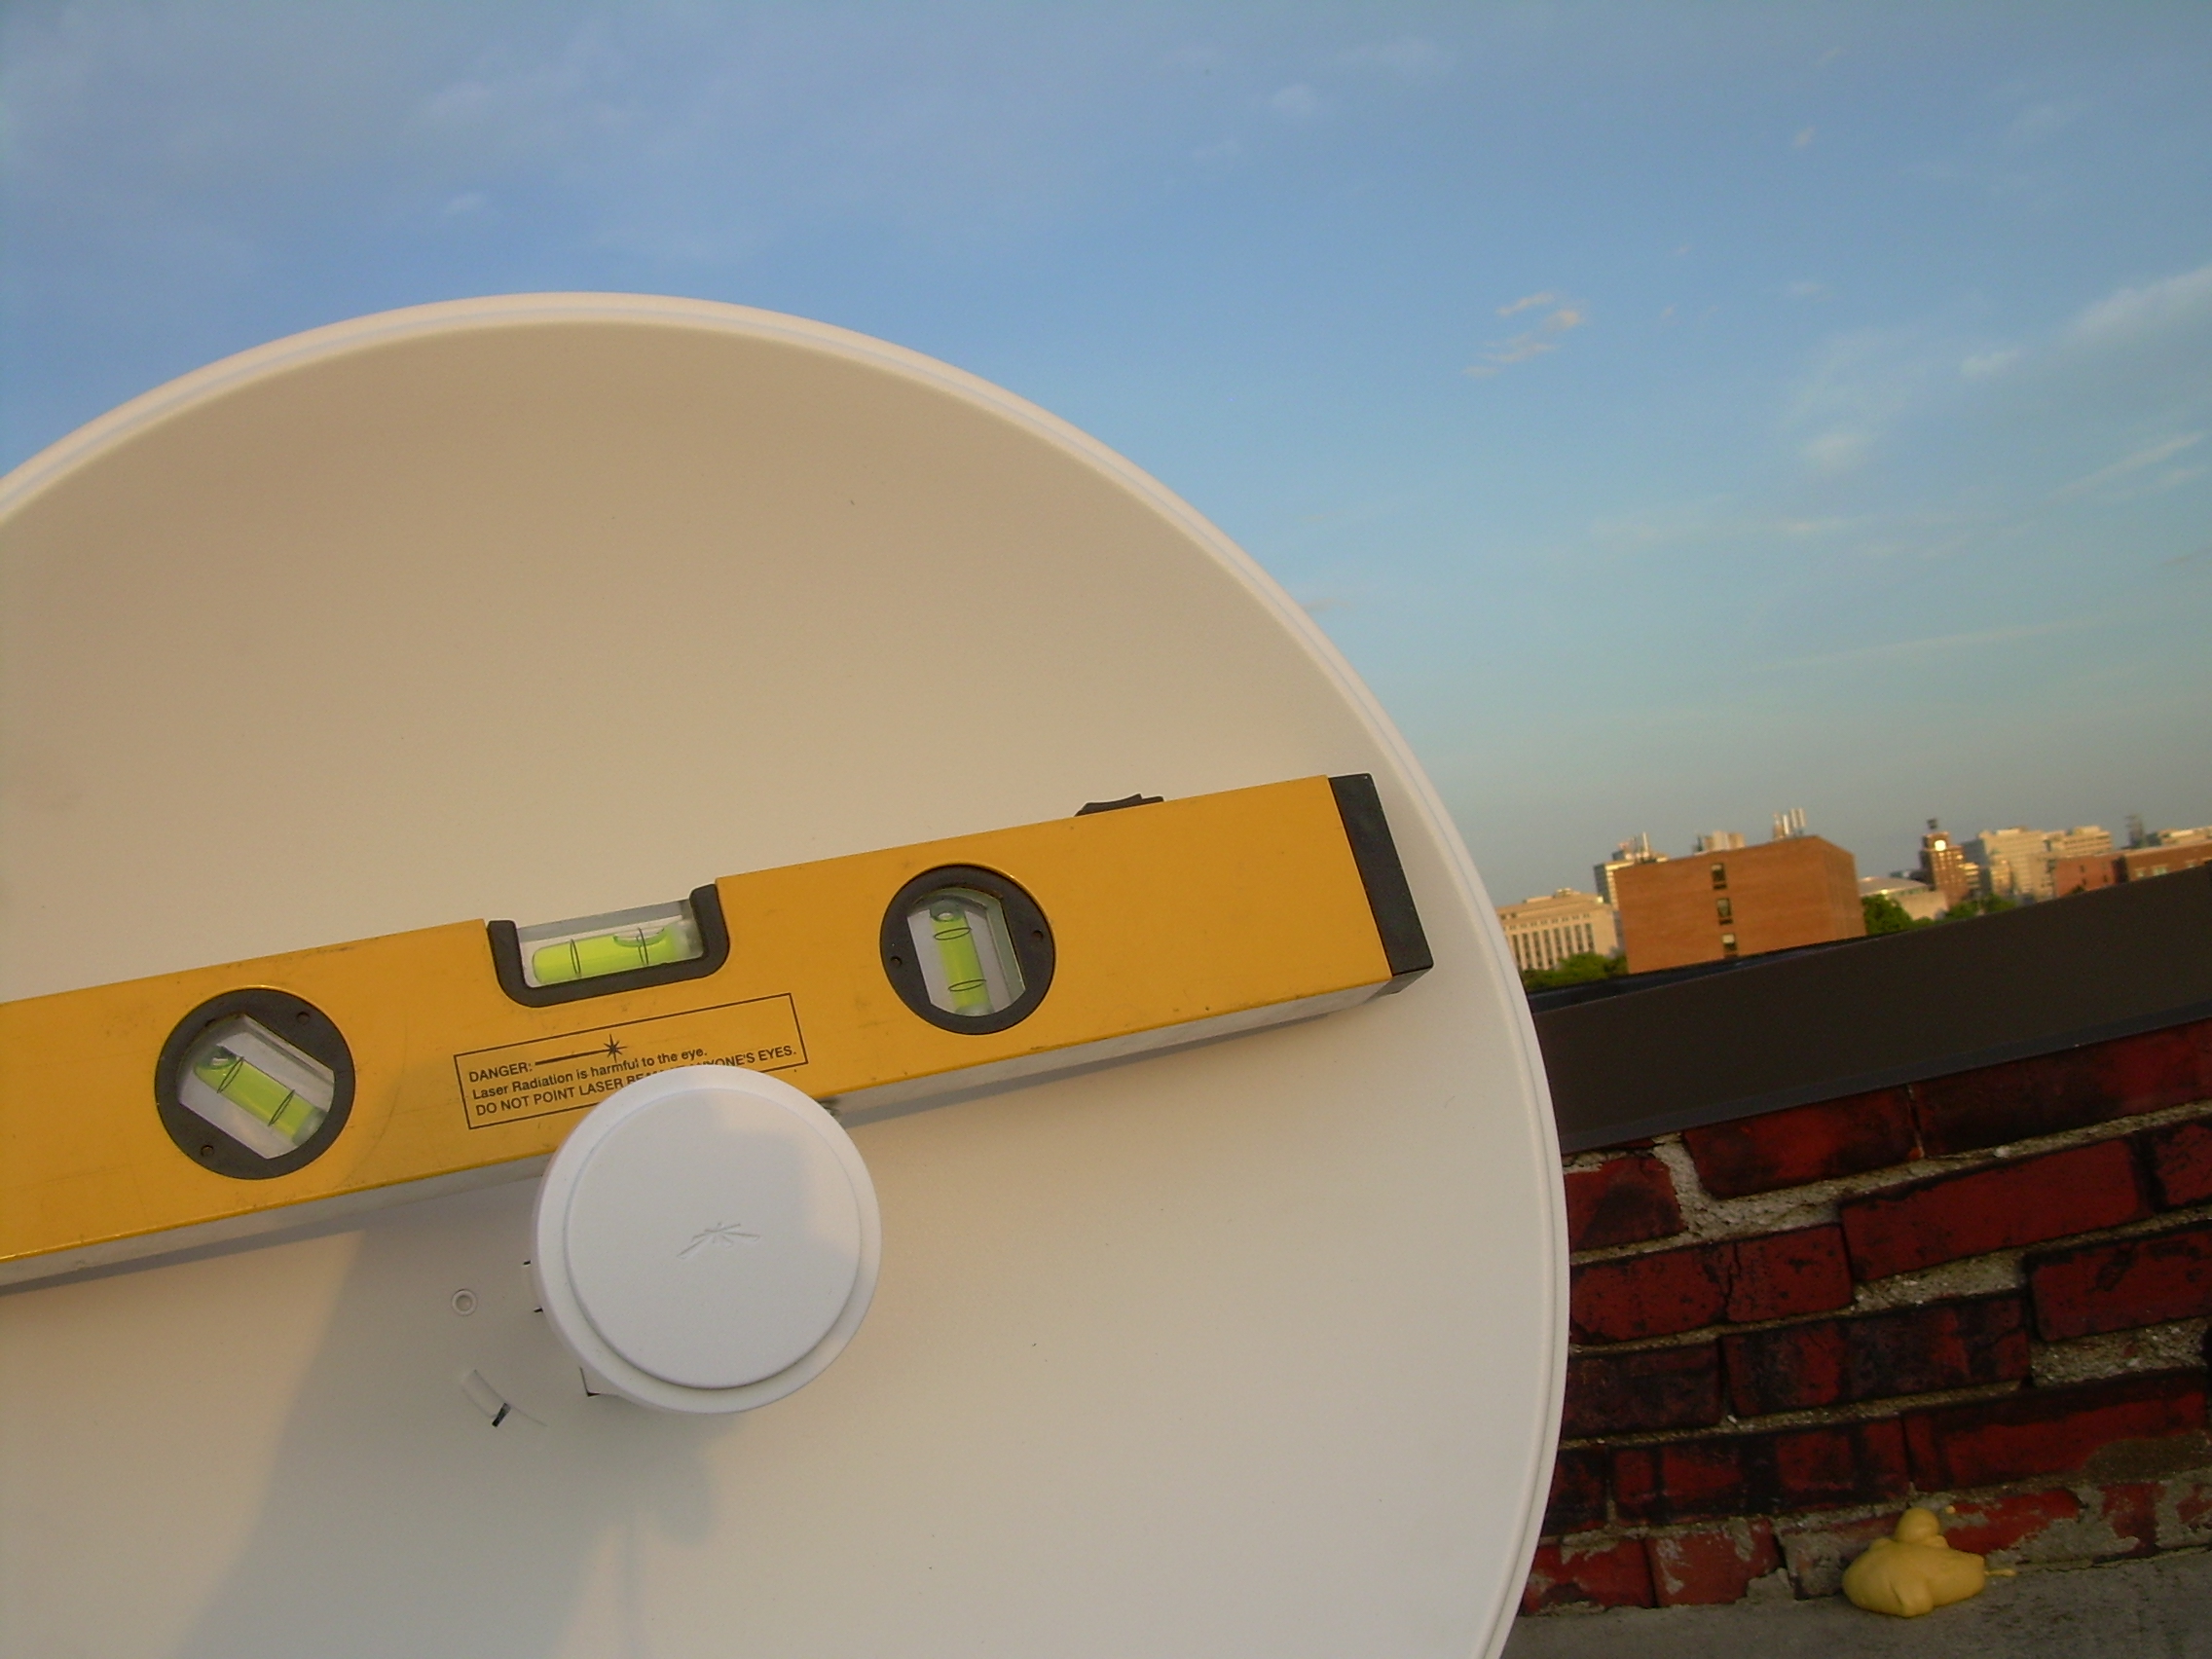
The NanoBridge M5 dish itself was still tightly connected to it’s mast, and the 3 concrete ballasts holding the mount in place seem to prevent any possible shifting. Initially when my signal deteriorated, I thought a bird may have slammed into the dish or mount and somehow moved it, but I don’t believe this is the case. The more likely culprit is a tree.
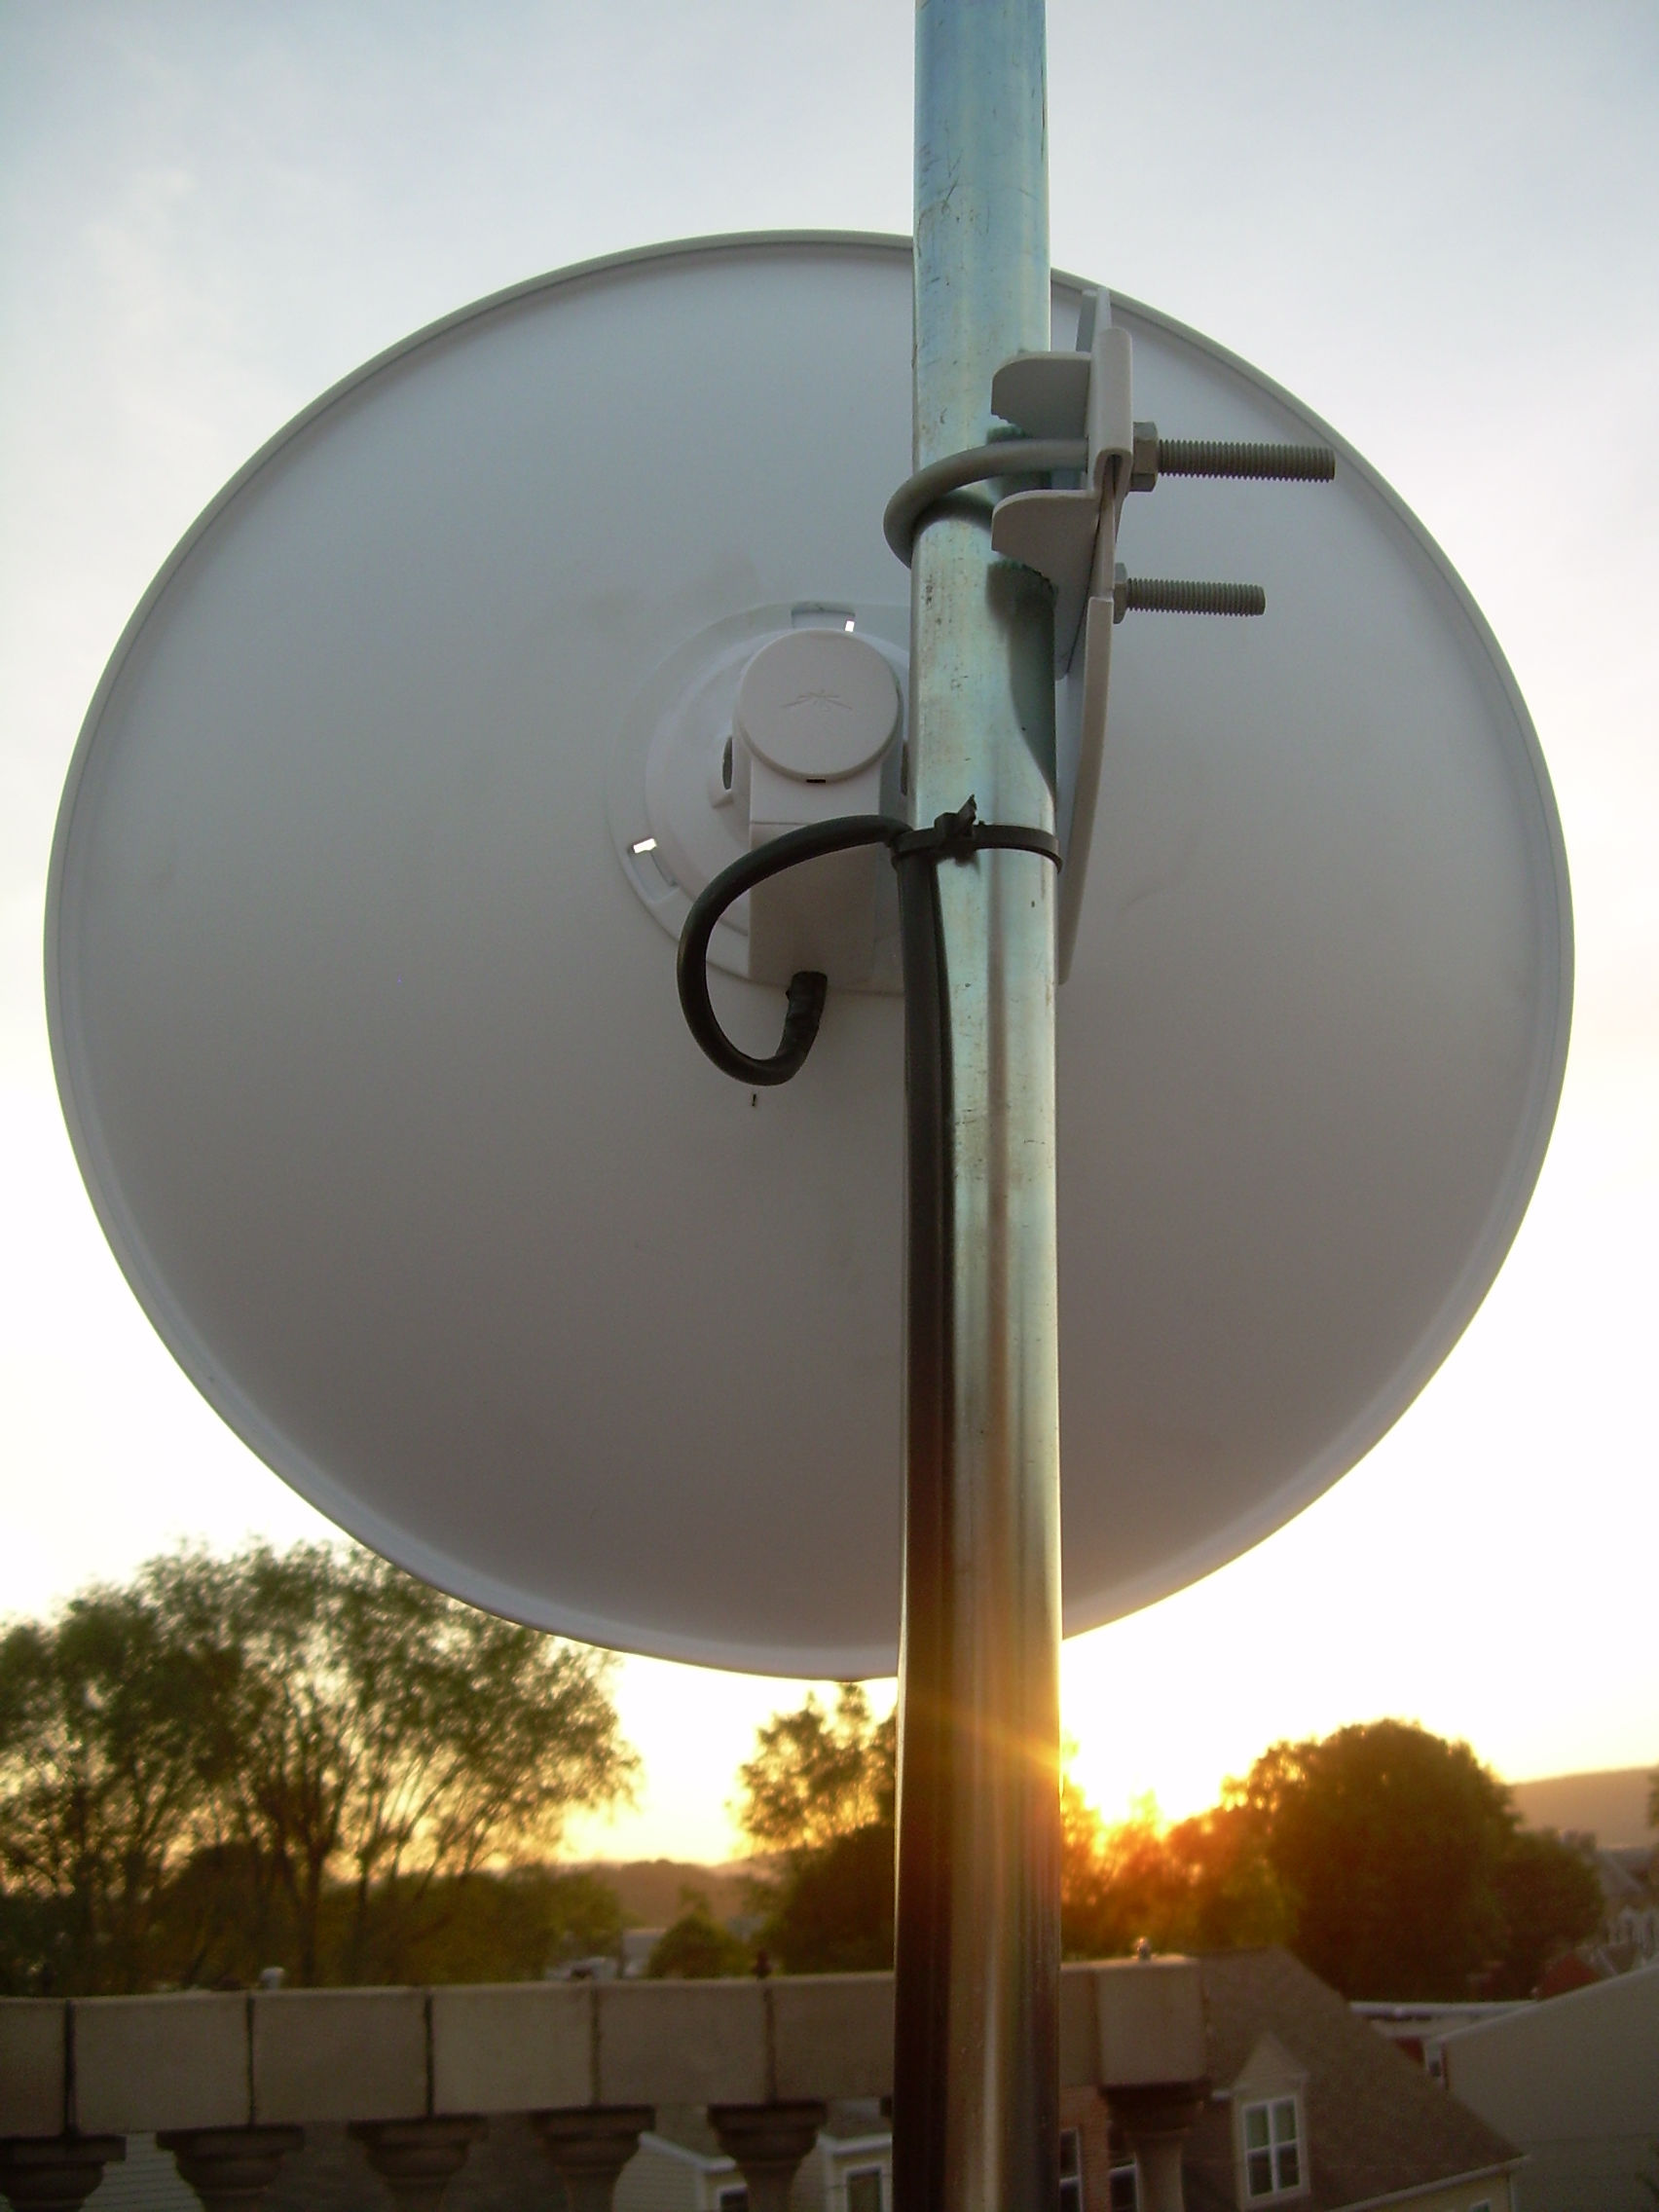
I knew when I installed the link that it was very likely clipping the tree on the right. Our tower is slightly to the right of the valley. Not particularly liking heights and trying to limit visibility from the street, I opted not to move the mount closer to the front of my home. I may revisit that decision in the future. Before I removed the NanoBridge I did try to correct it’s position but was only able to receive around an average of -70dBm at best.
Losing sunlight, I upgraded the dish to the NanoBeam M5. The only thing about the dish I dislike is that it has one U-bolt instead of two. I’m sure it’s ample but the NanoBridge’s 2 U-bolt configuration really seemed to hold it to the pole so that it couldn’t possibly be knocked out of alignment. My roof is mostly flat with a slight angle, so I wasn’t able to fully straighten the dish.
Installing the NanoBeam was quick and easy. The first thing that was obvious was the noise floor had gone from -93dBm to -103dBm. The signal was significantly improved, now running in the -63dBm range, and overall stats were a remarkable improvement over the NanoBridge.

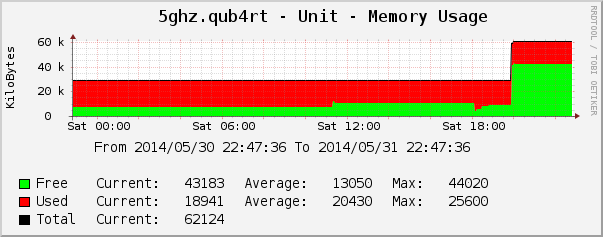
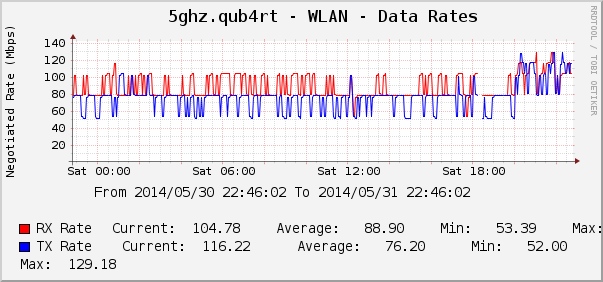
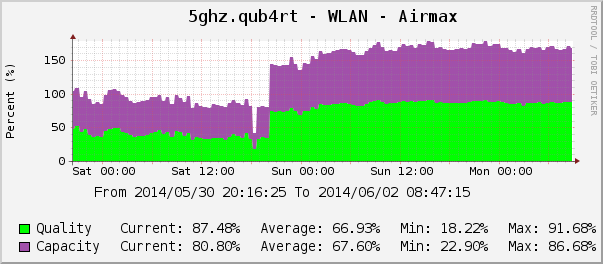
The week before I performed the upgrade, I finally added the Ubiquiti radio to my home Cacti installation. Forgive the ugly colors of the graphs (I plan of making them more visually appealing one day), but as Adam Savage says “The only difference between screwing around and science is writing it down“. These graphs display a pretty clean-cut before and after of the upgrade, which took place at about 20:00.
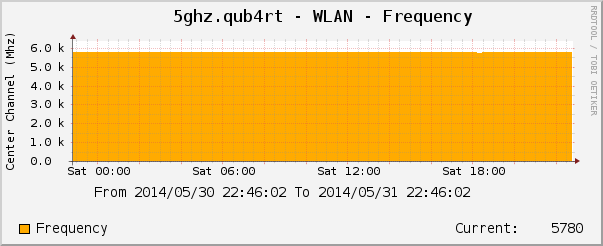
I incorrectly saved the Airmax graph after the upgrade and only noticed the next day (that’s why this graph is hours after the others).
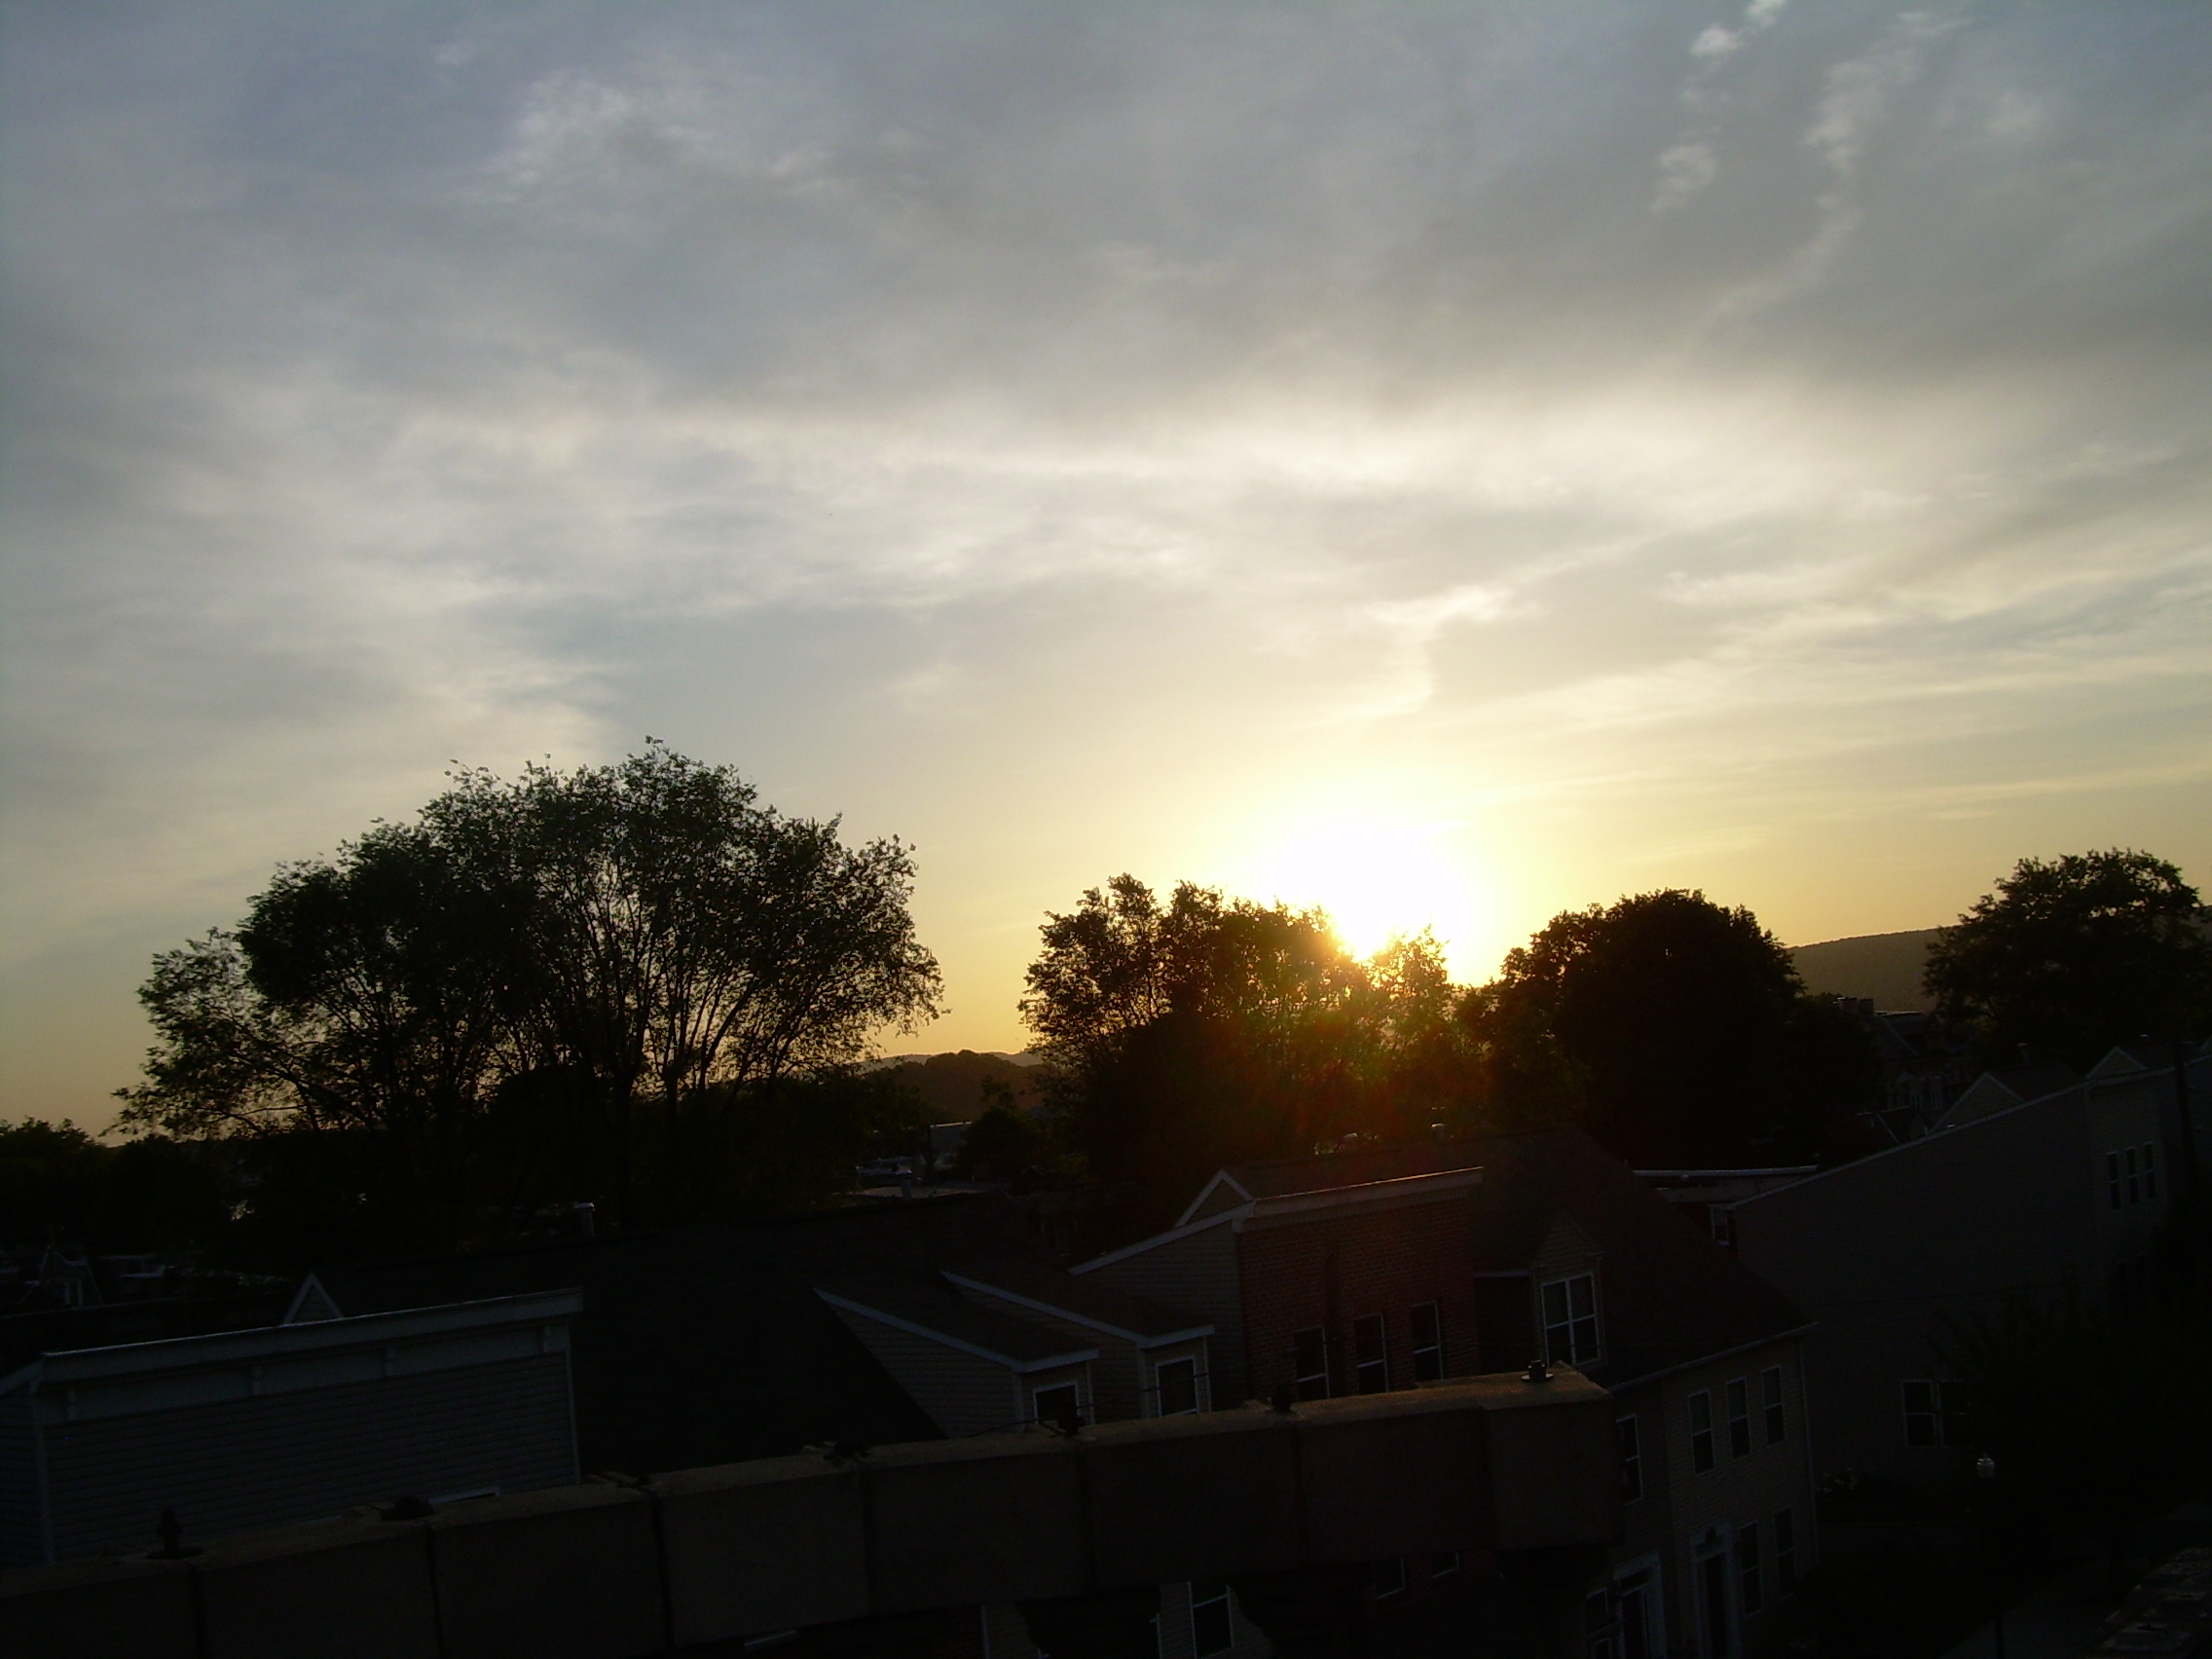
I’m extremely pleased with the upgrade. My initial problems with YouTube buffering have gone away and three days later things are still going strong. In the end I had a chance to see a pretty cool sunset on Lambs Gap.