All posts by Matthew Gillespie (admin)

A New MediaCenter and how HDMI to RCA does and doesn’t work.

I’ve always referred to Ubuntu as “the bridge that let the Windows idiots into the Linux world.” Ubuntu has done a wonderful job with their distro of Linux, but for some reason it seems to be the place the newbies spring from. I’m guessing it’s because of their reputation for being easy to use.

Ughhhhbuntu
Ughhhhbuntu

“It all just works” isn’t something that I find to be the case too often with my preferred distro, Gentoo.  I tend to forget to rebuild dependencies after updating software. You often have to sort through package blockages that prevent you from upgrading one small piece of the puzzle, and then on occasion packages simply won’t compile.

All of this leads to a strength-training of sorts. Actually, even installing Gentoo teaches a new user some important things since it’s all done by hand. There’s no clicking “Next”, “Next”, “Next”   — Voilà, installed. Instead, you’re partitioning and formatting by hand, configuring LVM, mounting partitions,  learning how to chroot into a directory, rsyncing the portage tree to your machine, configuring and building a kernel (and usually missing a module that you need), etc. It’s a time-consuming process for a new user.

CompilerSpew
But you’re not smart just because you’re watching compiler spew.

Then something happened that’s softened my dislike for Ubuntu.

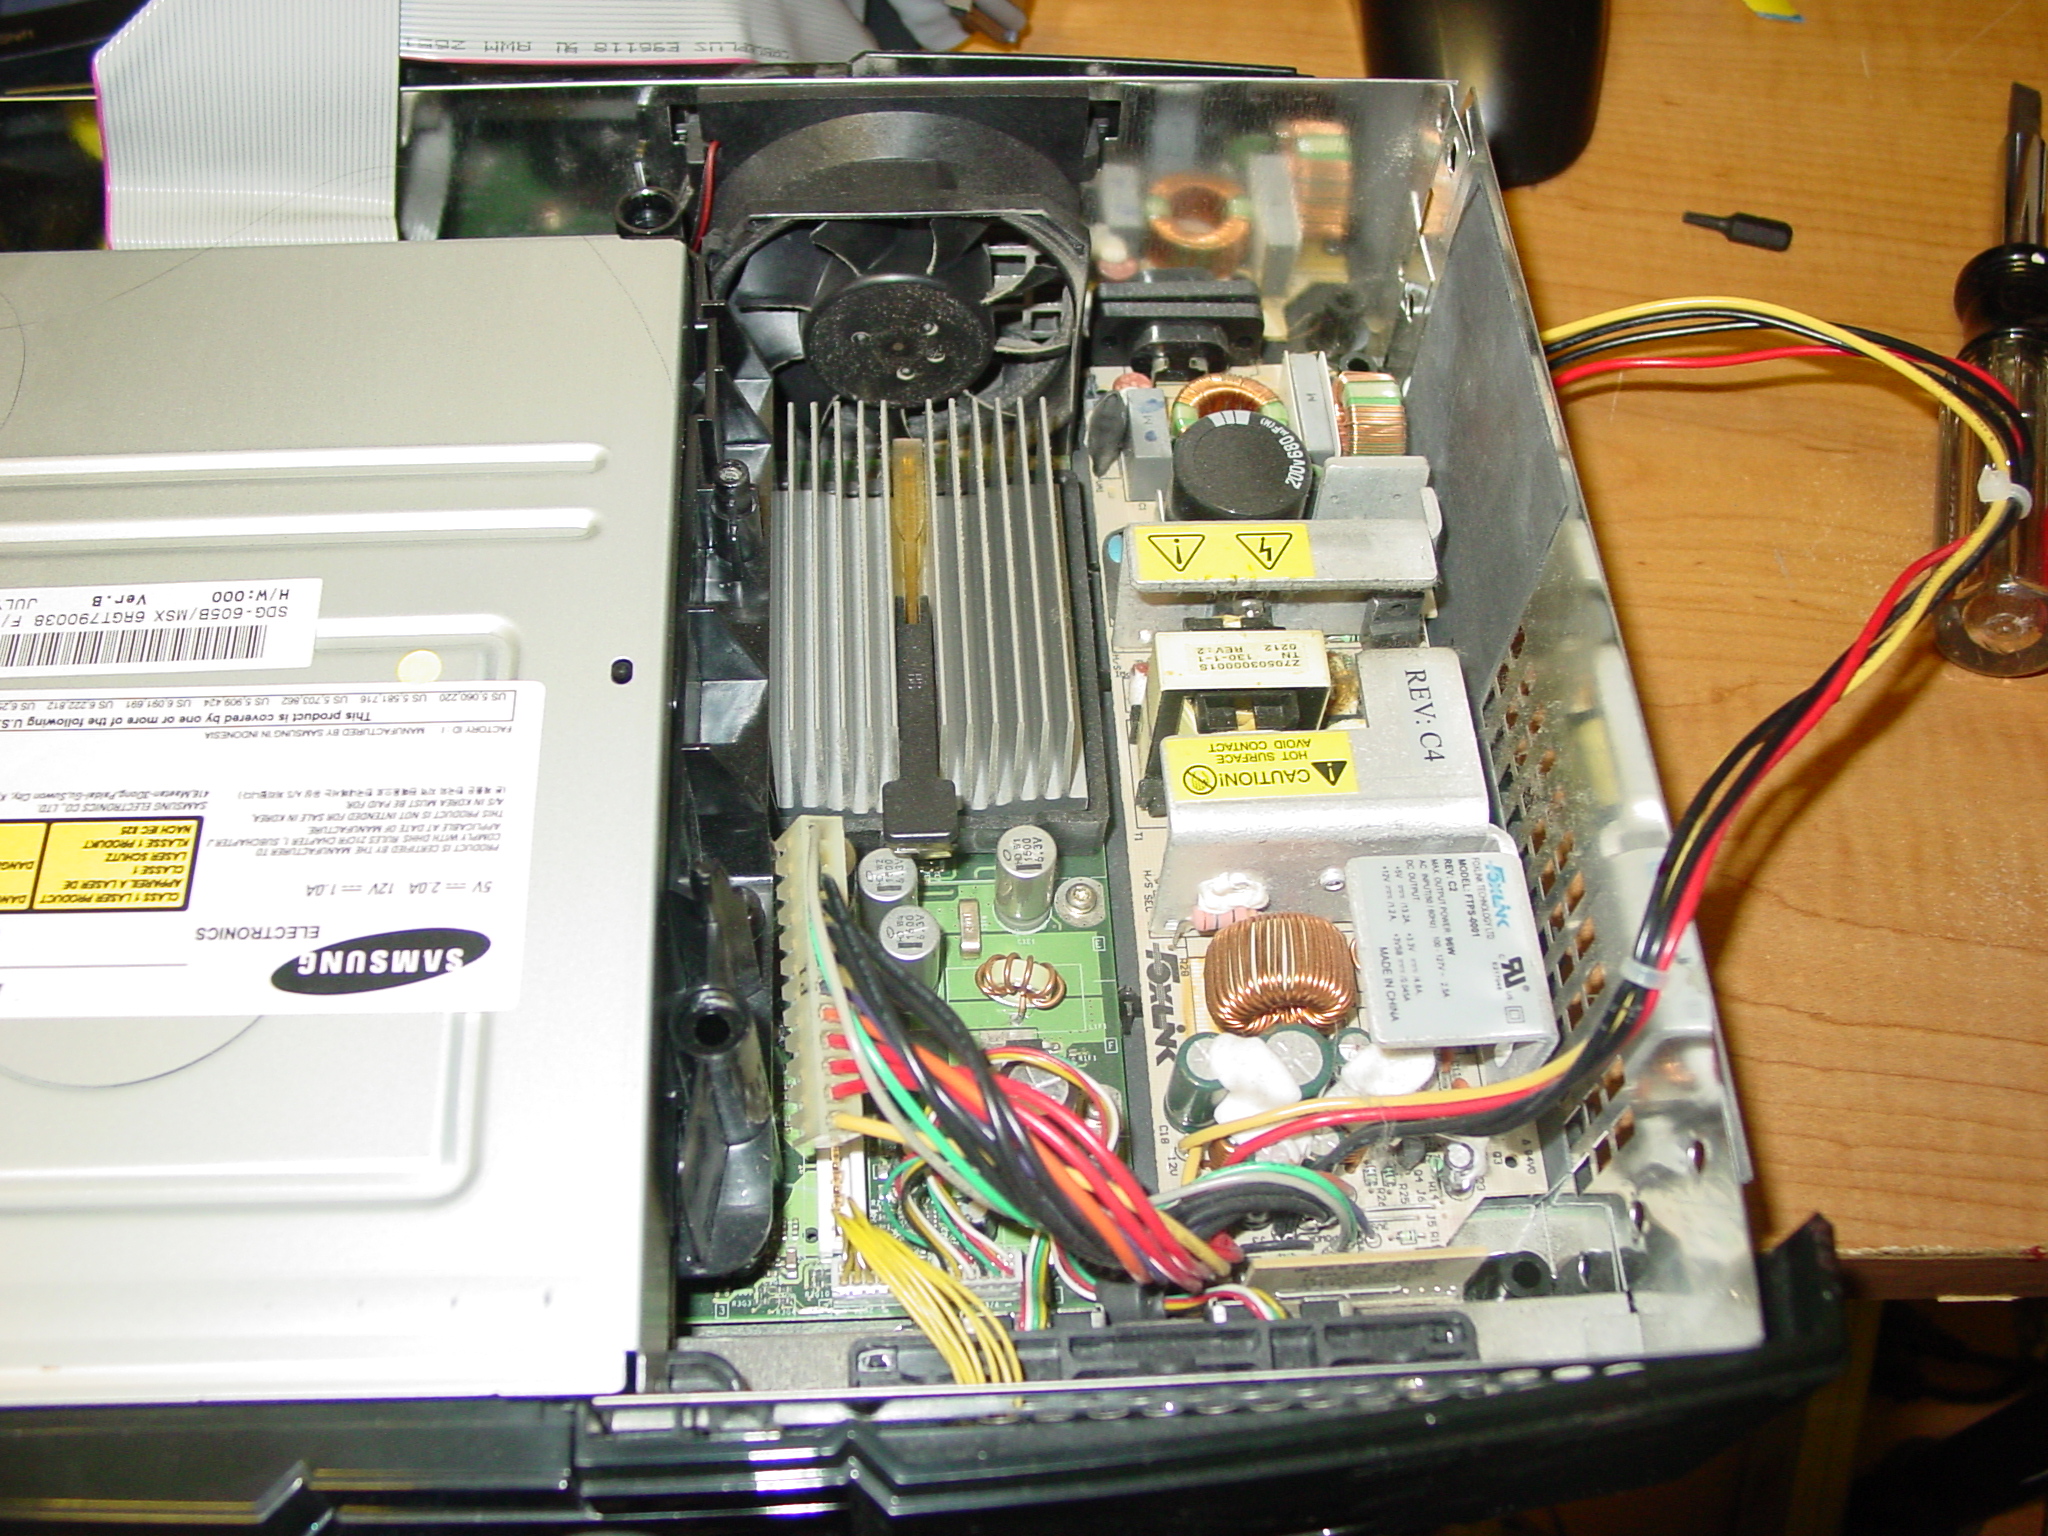
A few months ago my XBOX Classic media center (XMBC)  died. I’m pretty sure the problem was only with the power supply, but I was getting frustrated with how slow it would decode some videos. I was also tired of my latest storage setup (a USB attached 1TB drive served over the network via SMBFS), so I took the opportunity to upgrade things.

XBox Classic Power Supply
XBOX with dead power supply.

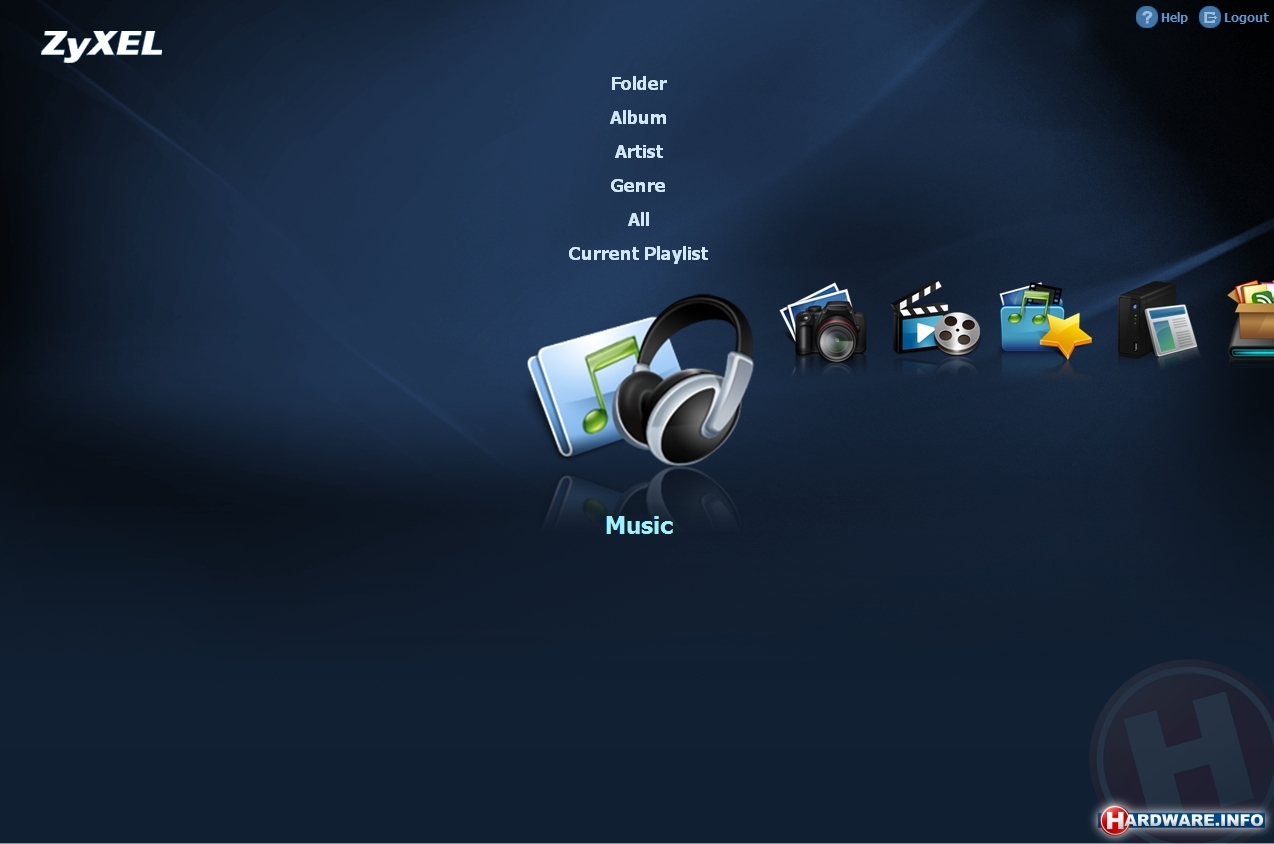
The first item to upgrade was my file storage. My workplace had a few Zyxel NSA-320′s laying around, but I wanted something that would give me JBOD and eSATA capabilities.  One of my fears is being locked into a particular vendor’s RAID controller, having it fail and being unable to access my data until I either buy ANOTHER exact model enclosure (or have to hunt for something with a similar controller). For that reason, I opted to go with software RAID – thus requiring JBOD support.

Zyxel NAS web interface
Zyxel NSA-320: It’s not a bad product at all, just not what I needed.

I finally settled on a Sans Digital TR4UTBPN, a 4 drive RAID enclosure with USB3.0 and eSATA support. I added a pair of 2-Terrabyte drives in a software RAID-1 configuration. Initially, I connected to the array via USB but found a few problems with that (mostly USB disconnects causing the software array to kick out a drive).  Thankfully BestBuy had a Dynex – 2-Port eSATA II PCI Express Adapter on the clearance rack. This card supports the “Port Multiplier” feature allowing me to access both drives in the enclosure individually, all over a single cable.

TR4UTBPN
It’s like a digital storage locker

I contemplated purchasing an $80 Roku box for streaming to my television. My only stipulation was that I wanted to be able to stream from my new storage array, and while the Roku does support this via HTTP ranges, the list of supported codecs left a bit to be desired. Not being interested in having to transcode a movie just to watch it, I opted to build another XMBC system. (While XBMC cannot stream Netflix, I have a Wii and DVD player that both support that functionality)

Initially I was going to purchase an Acer Revo for the system, but after a bit of discussion on IRC, a friend recommended that I look at something with an  E350/450/E2-1800 processor instead. After a bit of searching, I finally settled on a Zotac ZBOX nano AD10.

From Xbox to ZBox
From Xbox to ZBox

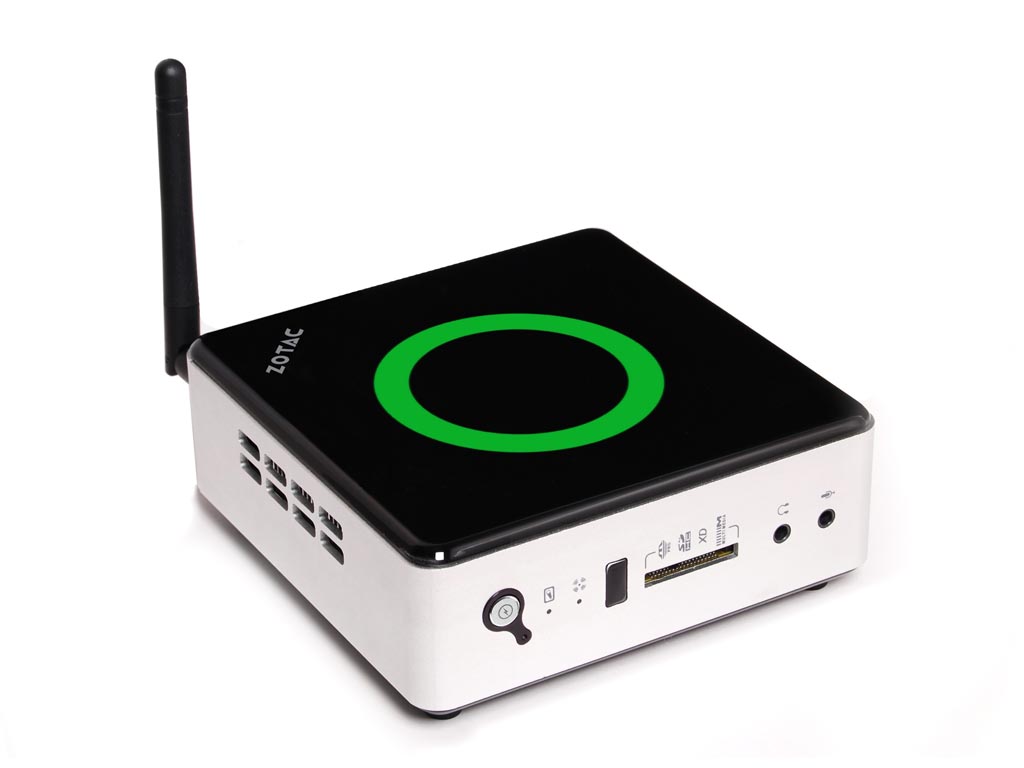
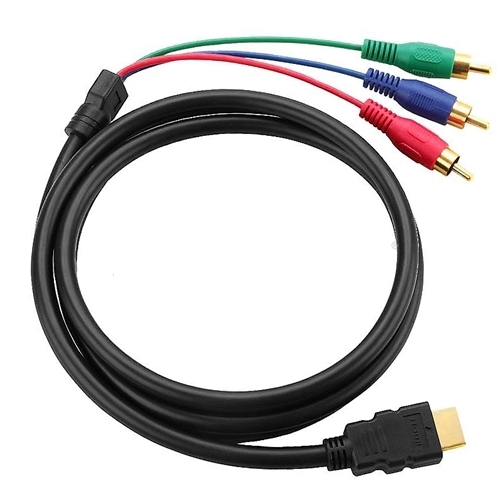
The video output options on the ZBOX are DisplayPort and HDMI. My television is an older model Sony Wega with no HDMI input (if it’s not broke, why replace it?). A few friends encouraged me to buy an HDMI to RCA cable, claiming it works fine for them. When my cable finally arrived, it didn’t work for me.

A co-worker was fighting through a similar predicament, having purchased a Stellar Labs 33-11610 for the same purpose. In his instance, a newer DVD player with HDMI-only output wouldn’t work with his RCA-only television. Searching through numerous HDMI to RCA  converters online I saw the same thing: Numerous people claiming a certain cable didn’t work for them, numerous others stating the exact same cable worked perfectly for them.

HDMI-to-RCA
This cable does NO frame resolution conversion.

Here’s why: A typical older model NTSC television only supports 480i. The conversion cables DO NOT downsample to 480i. In my case the ZBOX is outputting a 1080p-only signal, while my TV can’t handle that rate. Some TV’s can adapt, mine can’t. What you need is an HDMI to RCA downconverter.

The problem is that the downconverters aren’t cheap – typically they run about $200.00 on Ebay. I have located a Stellar Labs model VC11620 for $87, and lucked out and found a knock-off model for $30. Later I found that NewEgg also sells these inexpensive downconverters.


HDMI2AV
This image taken with a potato.


With all the parts in place and ready to go, it came time to install XBMC. When I noticed an XBMC based distro called “XMBCbuntu” I knew it would feature one major plus – it would just work, no need to fight with configuring the remote control, no fidgeting with network configurations, and no need to spend hours compiling or installing binary packages and building the media center by hand.

In fact, in 20 minutes I had XBMC installed to the ZBOX hard-drive and I love it. I’m not going to back away from my belief that Ubuntu is the “bridge that let the Windows idiots into the Linux world”, but I will say that Ubuntu has a tendency to make things easy for everyone. That’s a major plus.

Streaming Freaks and Geeks from my new storage array.

Back to an old hobby

I’m working more and more with wireless equipment at work these days, and I’ve found that it’s once again sparked my interest in an old hobby – Amatuer Radio.

I worked in commercial radio for eight years, mostly as an on-air entertainer hoping to follow in the footsteps of Johnny Carson and David Letterman. Radio was a perfect outlet for my sense of humor, and the Internet hadn’t yet developed into the “broadcast yourself” state that it is today.

KCMQ Remote Broadcast
Broadcasting Live for KCMQ radio.

In those days my interests were solely in writing and performing, and occasionally when someone asked what I did for a living they would respond, “Oh – I used to be in HAM radio”. The two are completely different beasts. (I left commercial radio in 2004 and doubt that I’ll ever return)

Kenwood TM733a
The Kenwood TM-733A dual-bander

About 3 years ago I purchased my first mobile radio, the Kenwood TM-733a. One of my main motivating factors was the 6-din connector that allows for easy connection to a TNC or computer, and knowing what APRS could do I wanted to explore other forms of packet radio. Like with most hobbies, starting out is a bit expensive. Instead of a proper power supply, I modified an ATX power supply from a computer and purchased a dicone style antenna from Radio Shack and mounted it on my roof.

Radio Shack Dicone Antenna
The perfect antenna when you want to pick up broken elements in your yard.

The antenna elements screw into the main pole of the antenna, and unless glued into place they  come out over time. Overall I would NOT recommend it.

The power supply could never provide enough amperage to power the radio, and the faceplate would dim any time the microphone was keyed. Eventually I lost interest and the radio remained on my shelf unused. Then road construction began outside of work.

Road Construction
Why yes, that is a piece of sewage pipe holding that phone cable out of the way.

In my area of Pennsylvania you thankfully don’t have too many traffic jams. I’ve offset my work hours to miss the morning and evening rush hour traffic, so I’m lucky in most regards. Unfortunately the latest road construction causes me to sit in traffic for 10 minutes while I wait for my turn so that I can make it to the office parking lot.

That’s when I dug out my trusty old BC80-XLT scanner. My intentions were to find what frequency that the traffic flaggers were using, adopt their lingo and occasionally pipe in with a “Uh, yeah… westbound traffic is piling up, let’s let them go.” Instead it led me back to a hobby that I never got to fully enjoy.

Using WXtoIMG and a 2Meter radio, you can download your own satellite images from NOAA satellites (source N3FW)

I’d pulled the dicone antenna off my roof prior to installing my Ubiquiti equipment, and decided a year ago while looking over WXtoImg that if I were to ever build my own antenna it would be a J-pole. Eventually I came across a dual j-pole for sale on Ebay which fit my needs (it supports both bands of my Kenwood – 70cm and 2M).

Dual Jpole
My dual-jpole. As you can see, it needs to be raised a bit higher.

The gang at Freenode #hamradio walked me through a number of options for powering the radio. In the end I settled on a 100 amp hour marine battery from the local Walmart along with a battery box. Going this route I can use my smart battery charger (that otherwise sees no use) and in the future explore solar power options for recharging the battery. I’ve since been informed that a sealed lead battery is much more preferable for indoor use as it doesn’t produce gas when being recharged (and will upgrade to one shortly).

Battery Box
Present: Battery box, powerpoles, Doc Wattson. Missing: Lemon Pledge for dusting.

For monitoring battery consumption I picked up a Doc Wattson meter from PowerWerx. While at it, I also placed an order for Anderson PowerPole connectors – and I’m EXTREMELY impressed with how easy they’ve made connecting and disconnecting power from the radio. For added safety, there is an inline fuse before the battery powerpoles connected to the Doc Wattson.

I’ve made contact with a number of people in the area using various 2M and 70cm repeaters, so my setup is up and functioning. I have mylar capacitors en-route so that I can build an isolated sound-card interface (The Sound Card Buddy) and safely connect my radio to my pc. From there, the gameplan is to find someone in the area interested in communicating via PSK.

FLDigi
FLDigi – the digital modem software.

Why work with PSK? I’m looking for a better understanding of the modulation types used in 802.11n – the so-called “MCS” values.While these modulations are typically automatically agreed upon between access-point and station, are there instances in which a person could say “High fog today, <this modulation type> is actually better than what the AP and station are going to agree upon automatically”?

802.11MCS.Wikipedia
Each MCS index refers to a specific modulation type, some of which can be generated in FLDigi.

I’d wager that the AP will always negotiate the best scheme, but knowing the properties of each still won’t hurt.

So I’m back to an old hobby, and my timing is good – at the end of this month is a Hamfest in my town. In the future, I anticipate that I’ll be working extensively with fldigi, exploring solar power, and installing a conduit system into my home office. As always, I’ll document my work here at BrainDeadProjects.

An upgrade to Ubiquiti

I’ve been _extremely_ impressed with the quality of Engenius‘ products, most specifically the EOC-2610. For the 2 years that I’ve had my two units in service, I’ve had very little issue with them.

Recently my workplace ordered a batch of Ubiquiti products from DoubleRadius. Ubiquiti is loved by the WISP world, and (mostly) utilize Atheros boards – just as the Engenius products do. Both also have stock firmware that’s also based off OpenWRT. Being inspired, I purchased some equipment myself.

Part of the reason the Ubiquiti gear seems to be more popular is their excellent support and web forum. Engenius is notoriously difficult to get any answers out of. I’ve still yet to get a copy of their firmware source required by the GPL, and I gave up long ago trying to get anywhere. Luckily, the few questions I did have were answered by simply expirementing.

This weekend I began the migration to Ubiquiti. My first rollout involves a Rocket M2 and a 120 degree sector antenna. For the past few weeks I’ve been working on adding a more recent version of the excellent CoovaChilli to the device. I have located a version of the CoovaAP firmware that runs natively on a Rocket M2, however it lacked a number of features (non-Chilli related) that I was hoping for. After much searching, I’ve been able to locate a 5.3 SDK (which features AirControl and the built-in spectrum analyzer).

AirView
The AirView built in spectrum analyzer

As I mentioned, it took quite a bit of searching to obtain the SDK. According to Kevin Perry at Ubiquiti  “We’ve had to temporarily remove the SDKs from our site to comply with US export control regulations. Once approved, we will be able to continue providing SDKs. ”  I’ve not heard anything new, and that correspondence is from September of 2011.

Of course, the Internet is a not only a compendium of 140-word-or-less Tweets about what someone just ate for dinner, it’s also a giant archive of the past. And with a bit of searching, I came across the SDK still hosted (albeit hidden) on Ubiquiti’s site.

Unfortunately the latest SDK is 5.5, and not 5.3. I’ve not had luck locating it (and it does contain the patch for the SkyNet worm), so I’m working off 5.3 for the time being. I’ve locked down access to the web interface to prevent infection from the worm.

CoovaLogo2_0
The CoovaChilli Captive Portal

With the SDK in tow, I began the work of inserting CoovaChilli into the system. Ubiquiti ensures important services stay running by having them spawned (and respawned if needed) via inittab. The stock inittab on the system is basic, handling only login and a couple of runlevel items. Prior to /sbin/init starting, the system runs a bash script /init. This in turn handles filesystem mounts, makes a handful of device nodes, copies a number of files into place, partially configures sysinit, and sets the timezone. It also calls ubntconf which gleans information from the nvram variables, prior to executing the traditional /sbin/init.

ubntconf is a closed source application, although it’s pretty easy to glean most of it’s operations by simply running strings on it (It is an ELF not a script). Depending upon nvram variables that are set, different scripts are dropped into /etc/sysinit. Additionally, items are added to /etc/inittab like this:

null::respawn:/bin/pppd eth0
null::respawn:/bin/lighttpd -D -f /etc/lighttpd.conf
null::respawn:/bin/dropbear -F -d /etc/persistent/dropbear_dss_host_key -r /etc/
persistent/dropbear_rsa_host_key -p 22

Each of these entries will respawn the corresponding service should it crash. Using their system as a model, I created my own config creator “chilliconf” to add entries to inittab for the chilli daemon, in addition to the necessary iptables rules in /etc/sysinit, and a few modifications to their use of dnsmasq (I wanted to syslog DNS queries offsite). When I later added NProbe to my firmware, I also used my chilliconf configurator to add it to the inittab.

My chilliconf configurator, like ubntconf, is called from the /init script.

One thing of note – any daemon listed in the inittab file needs to actually run in the foreground (so calling the process a daemon isn’t entirely accurate). This is for the obvious reason that the initiating process fork()s then exits – so inittab will continually respawn the service until you run out of resources.

No Strings Attached
All original functionality is still there. It's a like a cyborg version of itself.

I used the 3.6SDK version of CoovaAP as a model for my web interface. Adding a tab was fairly easy – the web interface is maintained as the ubnt-web package in the SDK. Most of the web CGI is PHP/FI (with a couple of functions added to PHP to facilitate saving configs and reading values). The code is extremely readable, and easy to figure out.

When you save your settings in the Ubiquiti web interface, you’re presented with a blue message bar asking if you’d like to test or apply your settings. In either case, you’ll be disconnected for a moment while the system reconfigures itself. This appears to be done via a call to the original /init script. The blue bar is a bit of a problem when adding a new tab to the menu.

The background image for the blue bar (msg.png) is originally  745 pixels, and the screen width is set to 790 pixels. With an added tab, the screen width becomes 866 pixels. Using GIMP I resized this image to 821 pixels.

The Blue Message Menu
Resize the blue background to fit.
  • Originally it was 745, with the original screen width of 790.
    • 790-745 = 45.
    • 866-45 = 821 — our newly resized image.

The web interface went through a few iterations before I had all the options I presently needed. CoovaChilli’s dnsdomainlocal option is problematic – causing any DNS query that returns an NXDOMAIN error for an A record to cause a redirect to the portal. Unfortunately the portal (from my experience) doesn’t properly track in this instance if the MAC associated with the request is authenticated – and redirects the user back to the UAMSERVER with the “res=notyet” variable. This means the user is prompted with a login screen unnecessarily.

In other words, visit “adfasjzc9vdsa0f9jdsaf.com”, and you’re presented with a login screen even after you’re logged in.  Adding the option to disable dnsdomainlocal fixes this problem.

The CoovaChilli Tab
The CoovaChili tab (with NProbe)

By default, I have the “dhcpradius” option enabled. With this feature, when a DHCP request is received by the CoovaChilli server, it forwards the MAC address to the radius server (as both the username and password) for authentication. If it doesn’t authenticate, the system redirects the user back to the UAMServer for a captive portal login.

The North Facing Access Point
Broadcasting throught the stratosphere

For the time being, the system is a bit overkill, but the options it presents for the future are many. CoovaChilli can rate-limit individual users based on login or MAC address. This alone opens the door for a pay-for-bandwidth model. If a user is found to be filesharing (legal or not) or otherwise consuming an inordinate amount of bandwidth, they can be easily ratelimited.

I still have a few minor items to add to the firmware (including the ability to pull RSSI information per client), but in the meantime it’s been fun working with the Rocket M2. The access point is now being tested in the neighborhood.

Midtown Wifi – the internals.

In the next few days, I’ll be upgrading my north facing access point from Engenius to Ubiquiti. The firmware is already written, and I have most everything prepped for the rooftop mount. Before I post about working with the (hidden) Ubiquiti 5.3 SDK, I thought I’d give a quick tour of my system so far.

With Midtown Wifi I had the following goals:

  1. Work more in the C language.
  2. Build a stable and (mostly) embedded captive portal system with a minimal ToS acceptance screen.
  3. Let the surrounding neighborhood use the Internet for free in exchange for helping me build and test the system.
  4. Use the system as a way to introduce neighbors, let them post local interest items (missing pets, crime reports, events, etc).
  5. Provide maps of recently reported crimes via the Harrisburg, PA online Police Blotter.

Over the years I’ve accomplished all of this, to one degree or another. Harrisburg, PA is in the midst of some serious financial problems, so their online police blotter has gone away  – preventing me from easily obtaining local crime information. People are what they are, and as Google+, MySpace, and any other Social Site knows — getting people to truly use your social portal is a trick that requires sheer genius. Getting them to log into it and push a “Free Wifi” button however, is easy.

MidtownWifiLogin
The Midtown Wifi Login Screen (as of Feb 15, 2012)

How it works:

After connecting to one of the open access points, the end user is redirected (courtesy of a patched NoDogSplash) to a captive web portal. The web portal is based off Elgg, a fairly easy to use Social Network Engine written in PHP. I’ve made a few modifications to the base system, adding a more recent JQuery and JQueryUI (so that I can create interactive Dialogs), and writing a few plugins to handle Netflow display, wireless signal strength reports (per user), user speed tests, and to verify that they have a picture set before allowing them to use the Free Wifi.

By nature, people won’t set a profile picture when all they want is Free Wifi. I had to enforce a profile picture (“it doesn’t have to be you, it can be anything non-offensive”) to make the site NOT appear like a barren wasteland.

I eventually limited account creation strictly to the access points as registrations from outside those IPs were mostly just spam.

After a user creates an account and logs in, they are directed to the “Dashboard”, which is a listing of recent posts from any of the users. Most are quick “Hey you!”, but sometimes people post something more substantive. When my rear car window was broken, I used the system as a venting forum.

MidtownWifiDashboard
All the names and 1 dirty word have been removed.

I’ve consolidated most of my customizations relative to the wireless users into a single Elgg plugin I named “TSA Patdown”. Initially TSA Patdown only verified that a user had a profile image set, but now it does quite a bit more. Every 30 seconds I export Received Signal Strength Indication (RSSI) for each client from the  Engenius equipment. I collect this information, as well as information from a Javascript based speedtest widget I wrote to get an idea as to what kind of online experience each user is having.

I represent this information to myself on the following menu, with signal bars that I created using Blender:

MidtownWifiLogins
Signal Strengths, Login times, MAC addresses and more.

I can further delve into information on a per-user basis by simply clicking on a name. I can also pull a full neighborhood report, graphing each clients RSSI values as well as their recent speedtest results.

MidtownWifiSpeedTest
The Javascript Speedtest Widget

Being implemented in Javascript, the speedtest results aren’t the same as you’d see when visiting a Flash based speedtest. The standard web method of performing such a test is to have the end-user download an image file or two (oftentimes two images simultaneously)- and at random intervals determine how much of the image has been downloaded by that timeframe.  With a single image download, it can perform multiple measurements at various intervals and determine available bandwidth much more accurately. Since there’s additional overhead in the underlying TCP/IP layers, it appears most tests also add padding to their calculation to make things more accurate.

Speakeasy
Speakeasy Flash based speedtest

Flash has methods that will allow for such periodic sampling, Javascript however does not. This makes my Javascript implementation an overall average – so a report of 900Kbit/sec can easily represent 1.5Mbit/sec. (My results are much more akin to what Wireshark will report as throughput). I do plan to write a Flash based speedtest in the near future.

WiresharkThroughput
Wireshark measures throughput how I do: Bandwidth / (endtime - starttime)

In this example, the capture in Wireshark measures the throughput as 21.22Mbit/sec, nowhere near the 52.37Mbit/sec rating given by Speakeasy. The recent throughput information is all displayed in the signal screen:

MidtownWifiSignals
Can you hear me now? How fast can I talk?

The Netflow section of my TSA Patdown plugin details the current traffic flow on the network. This screen updates dynamically as users surf the internet. (I’ll reiterate my past posts here: The netflow data is only packet endpoints… basically “this person called this person at this time”, but not the actual content of those conversations). I’ve also added a small port-based protocol disector that colorizes the flows and provides protocol information depending upon the packet you select. If you choose a NetBIOS packet, you’ll get something similar to this:

MidtownWifiNetFlow
Flying by at the speed of light: PACKETS

The system monitors for NetBIOS names as well as DHCP hostnames that appear on Midtown Wifi. All of this information comes together to paint an accurate view of the network.

Clicking a Protocol Name (in this instance NetBIOS) will direct you to a Wikipedia article on the protocol and how it works. Unclassified protocols can be classified and colorized with a simple click. You can also specify the URL to load when the protocol name is clicked.

MidtownWifiProtocolAssignment
Pick a transport, a color, a name, a URL - and you've defined a protocol

The pie charts, RSSI graphs, and throughput graphs are all handled using the PHP JPGraph libraries. In the future, I intend to improve the graphs (there are tendencies for my labels to bleed off-screen or over each other).

The access points share their own ADSL line for bandwidth but maintain individual PPPoE sessions. The wiring in my home needs improvement (the house was built in the 1800’s, the Cat5 running through the house is obviously not that old but does have some serious issues) . Most of the exterior walls appear to be metal, which does hinder re-running the DSL line a bit.

I recently migrated my home network graphing from NetMRG to Cacti, and I’m using Cacti‘s (albeit poor) FTP export function to offload graphs pertaining to MidTown Wifi to the captive portal.

MidtownWifiGraphs
Graphs that have been imported from Cacti.

As you can see in the graphs, the system currently has 175 subscribers. I have deleted the bogus accounts that weren’t created through the APs. The high number of subscribers is largely the result of transient users (my home is on a major bus line, rental homes in the area turn over somewhat frequently, the local college is blocks away,  etc). A couple of users have duplicate accounts having apparently lost their credentials (as is evidenced by a few repeat MAC addresses).

To put the large number into proper perspective:  in the last 7 days there were 157 logins by 18 unique users. Unlike myself, most of the users don’t spend every waking moment on the Internet.

I’ve covered the access points and the firmware images in a number of previous posts, so I’ll let them speak for themselves. In the next few days (hopefully not weeks), I’ll be introducing my first Ubiquiti access point to the system with full details posted then. If you have any thoughts or input, by all means reach me in the comments section.