I’ve been planning on building an APRS beacon into my car for some time, initially contemplating using a WebPadDT + XASTIR to do the work, but that idea quickly posed an issue – the WebPad was too big to reasonably it in the car with another passenger (at least in my car).
Yes, I’m well aware that APRS is not really meant as a vehicle tracking device, and in many circles it’s frowned upon.
I’ve enjoyed working with PIC microcontrollers since I was first introduced to the 16f84A years ago. But in all honestly, I’ve not done more than “blinky lights” and very basic modifications to an RC car with them. (Take a look at a great article to get started working with PICs)
Byonics has a cool kit – the Tiny Track3+. Figuring I’d use it as a chance to exercise my soldering skills (which need a bit of work), and liking the fact that I wouldn’t have to hunt for each individual component on my own, I picked one up (with GPS unit).
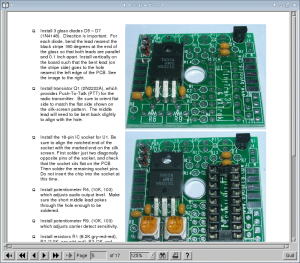
The project build steps are extremely well documented. Literally, every step along the way is fully explained along with color images in the downloadable PDF. Build time takes under 1 hour (actually closer to 30 minutes, although I incorrectly soldered the female DB9 connector to J2 and had to waste time de-soldering it).
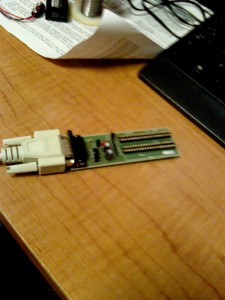
Prior to installing the accompanying PIC16f628A chip, I made sure to back up the currently running software (these chips are dirt cheap, and I’m not entirely sure Byonics will just give me the software if I ever have to replace the chip) Looks like my old serial programmer still works (remember – the USB to serial adapters generally don’t put out enough voltage to program a chip, so make sure you have on-board serial):
After backing up the code, I pop the chip into place on the TinyTracker, and voila -the finished product looks like this:
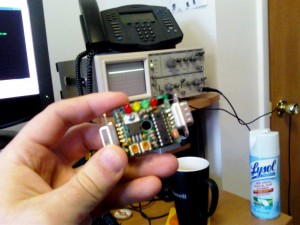
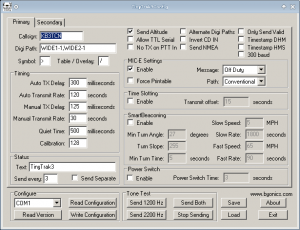
The Byonics crew have also written software to configure the TinyTracker. Luckily it runs under WINE so I didn’t have to reboot. To configure, power the J1 DB9 connector with a 9volt battery.
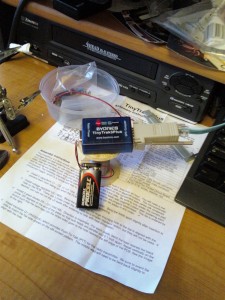
And run the configuration program (again, it’s fairly well documented in the manual):
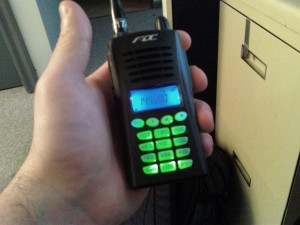
After being hung-up in customs (and a brutal snowstorm), I finally got the radio component of my APRS system – the FD-150A (It took almost a month to get here from Hong Kong)
The output voltage on the FD-150 battery is ~6.25V, too low to power the TinyTracker3 (which requires 7+V). A voltage multiplier would probably fix that, but my overall goal is to encase all components in a NEMA style box, powering it off the car. So for the rest of the testing period, I’m using an external power-supply.
Hopefully in the next few weeks, I’ll have time to finish the entire setup. Keep checking back, I’ll post updates when I can.

